

Quick Start with RevX
Generate and publish a Polkadot Product in the browser with RevX App Builder. RevX gives you a browser-based IDE, scaffolds a Product from a natural-language prompt, and publishes it to a .dot name after you sign the final step with the Polkadot App.
This route does not require a local development environment. By the end, you will have configured an AI provider in App Builder, generated a Polkadot Product from a prompt, inspected the generated code, and published it to .dot.
Prerequisites
Section titled “Prerequisites”Before starting, make sure you have:
- The Polkadot App installed on your phone with an account created; it signs the final publish step.
- An API key for an AI provider supported by App Builder, such as OpenAI or Anthropic.
Open RevX
Section titled “Open RevX”Open RevX in your browser. RevX is a browser-based IDE; you will use the App Builder track to scaffold a Polkadot Product end to end.
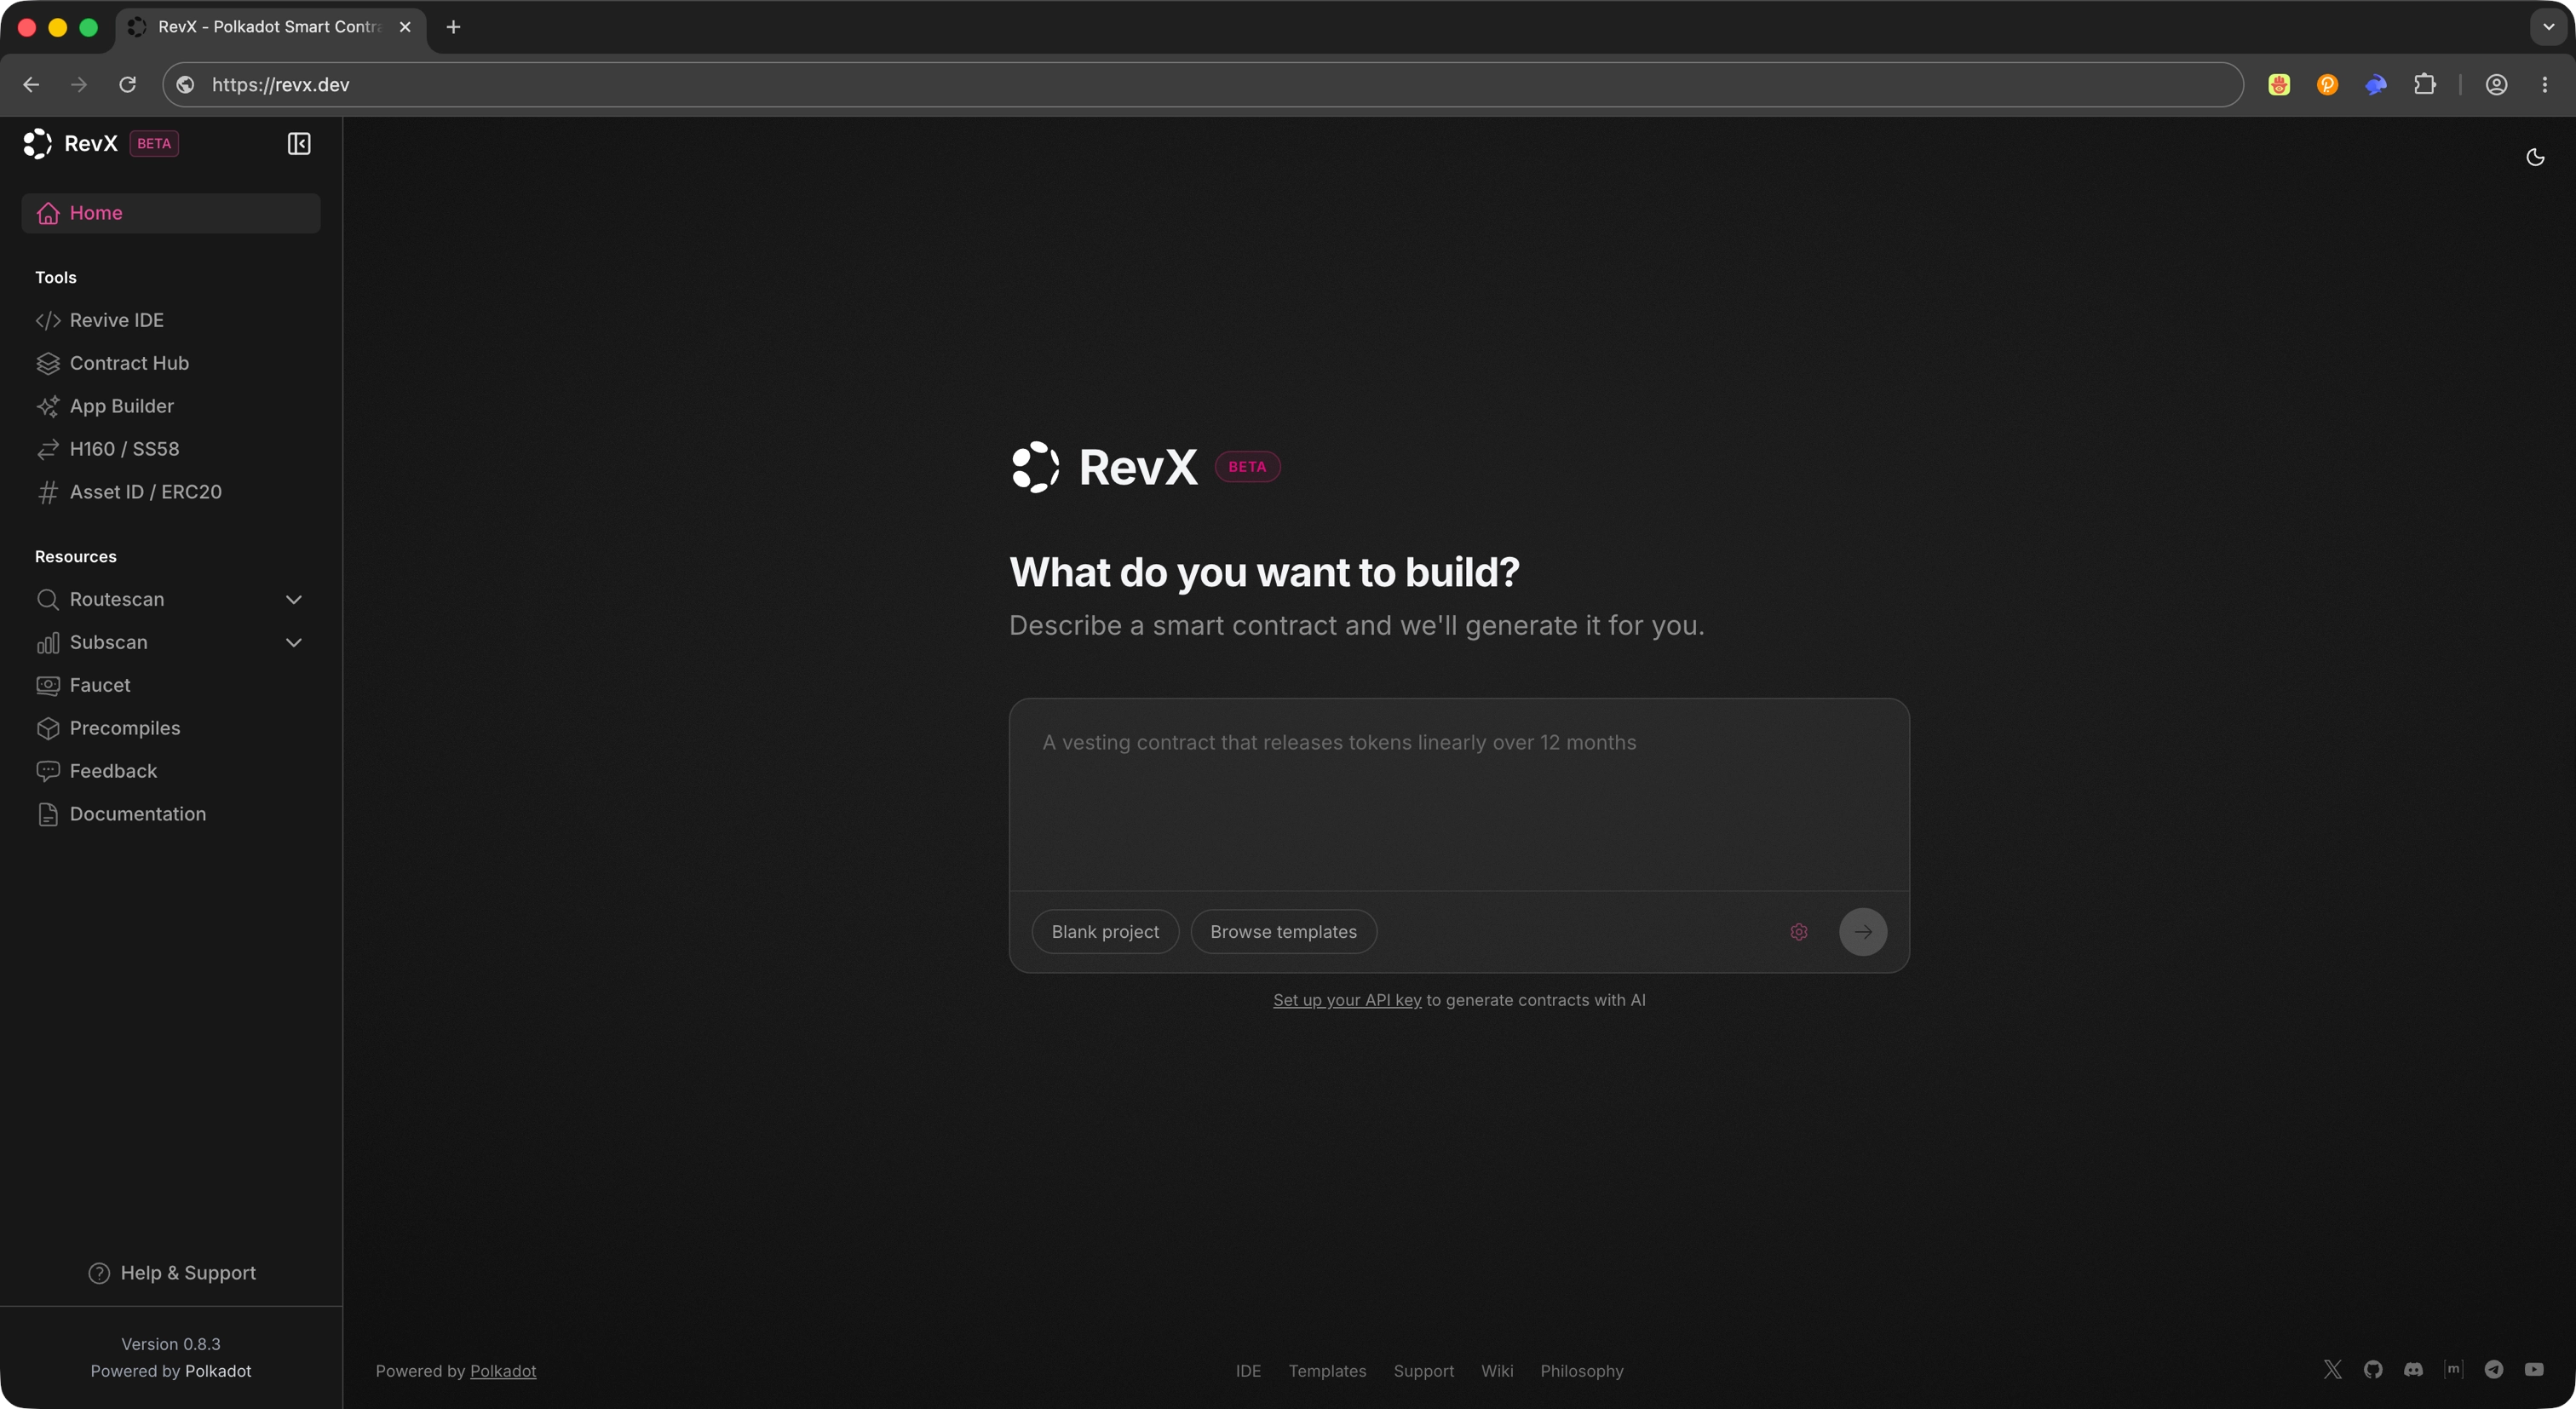
Open App Builder
Section titled “Open App Builder”From the sidebar, select App Builder. App Builder is RevX's track for generating Polkadot Products using AI-assisted workflows.
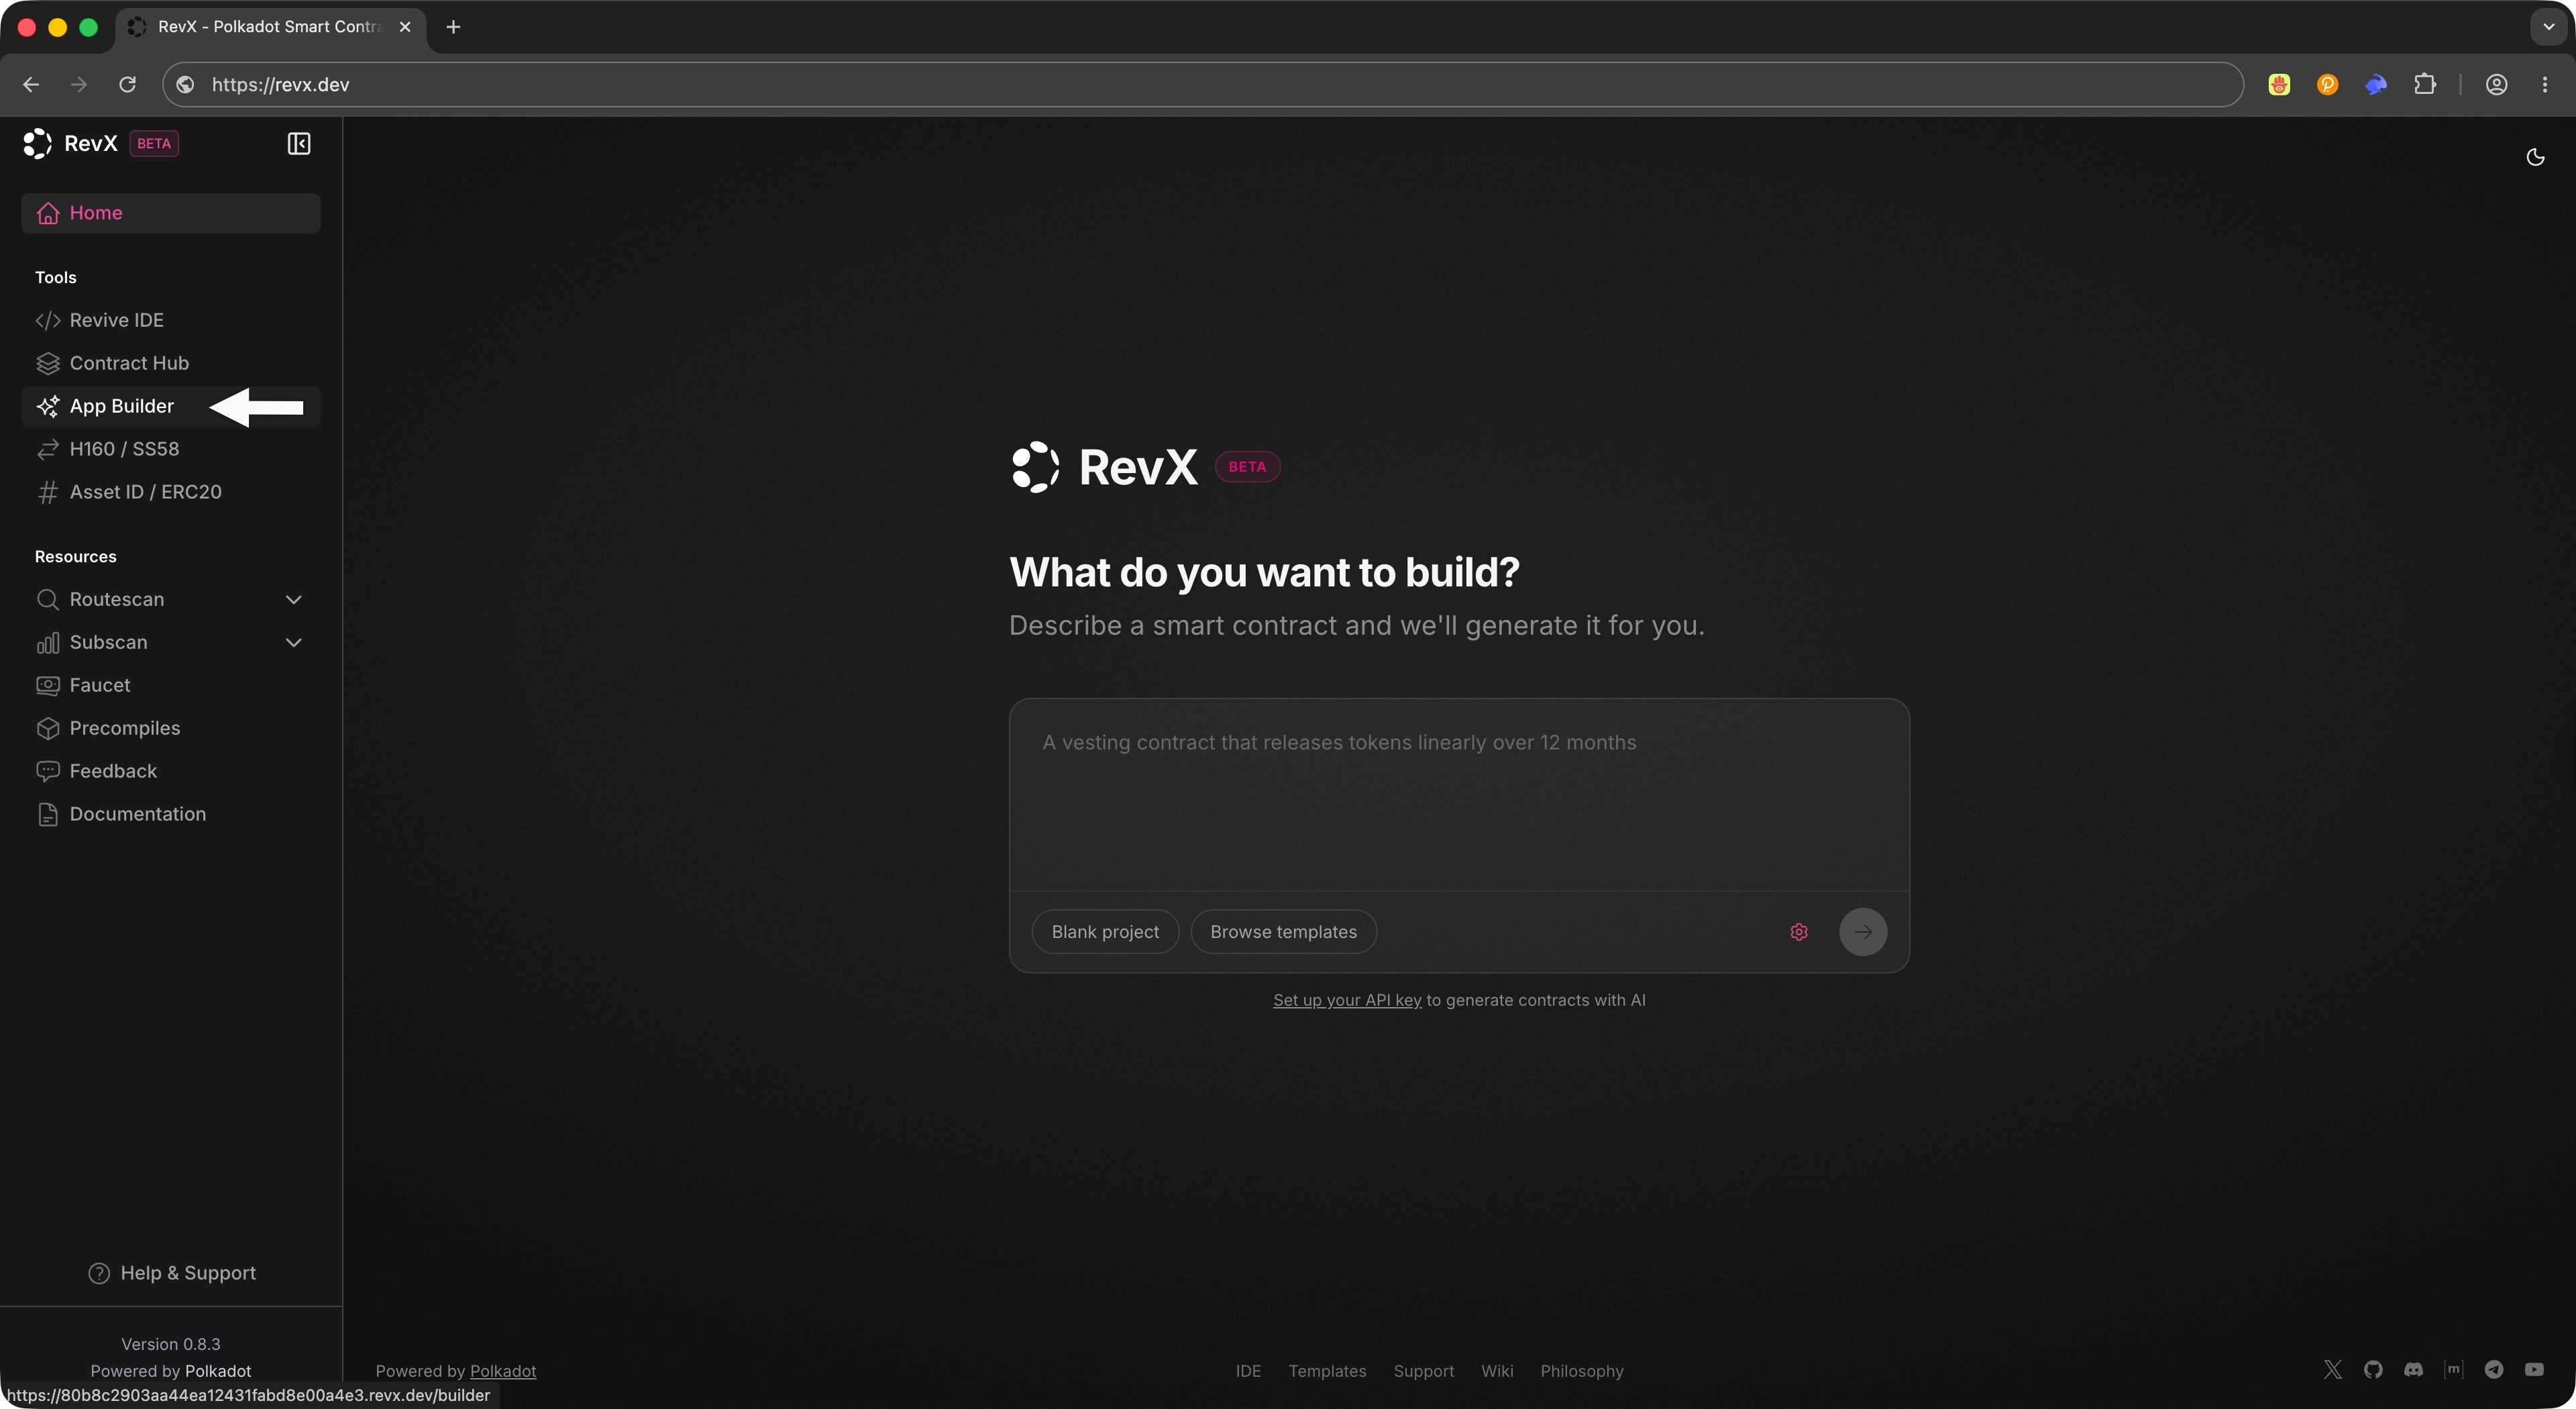
Create a New App
Section titled “Create a New App”Click Create App to start a new project. RevX automatically installs the required dependencies and initializes the project environment so you can move straight into configuration and prompting.
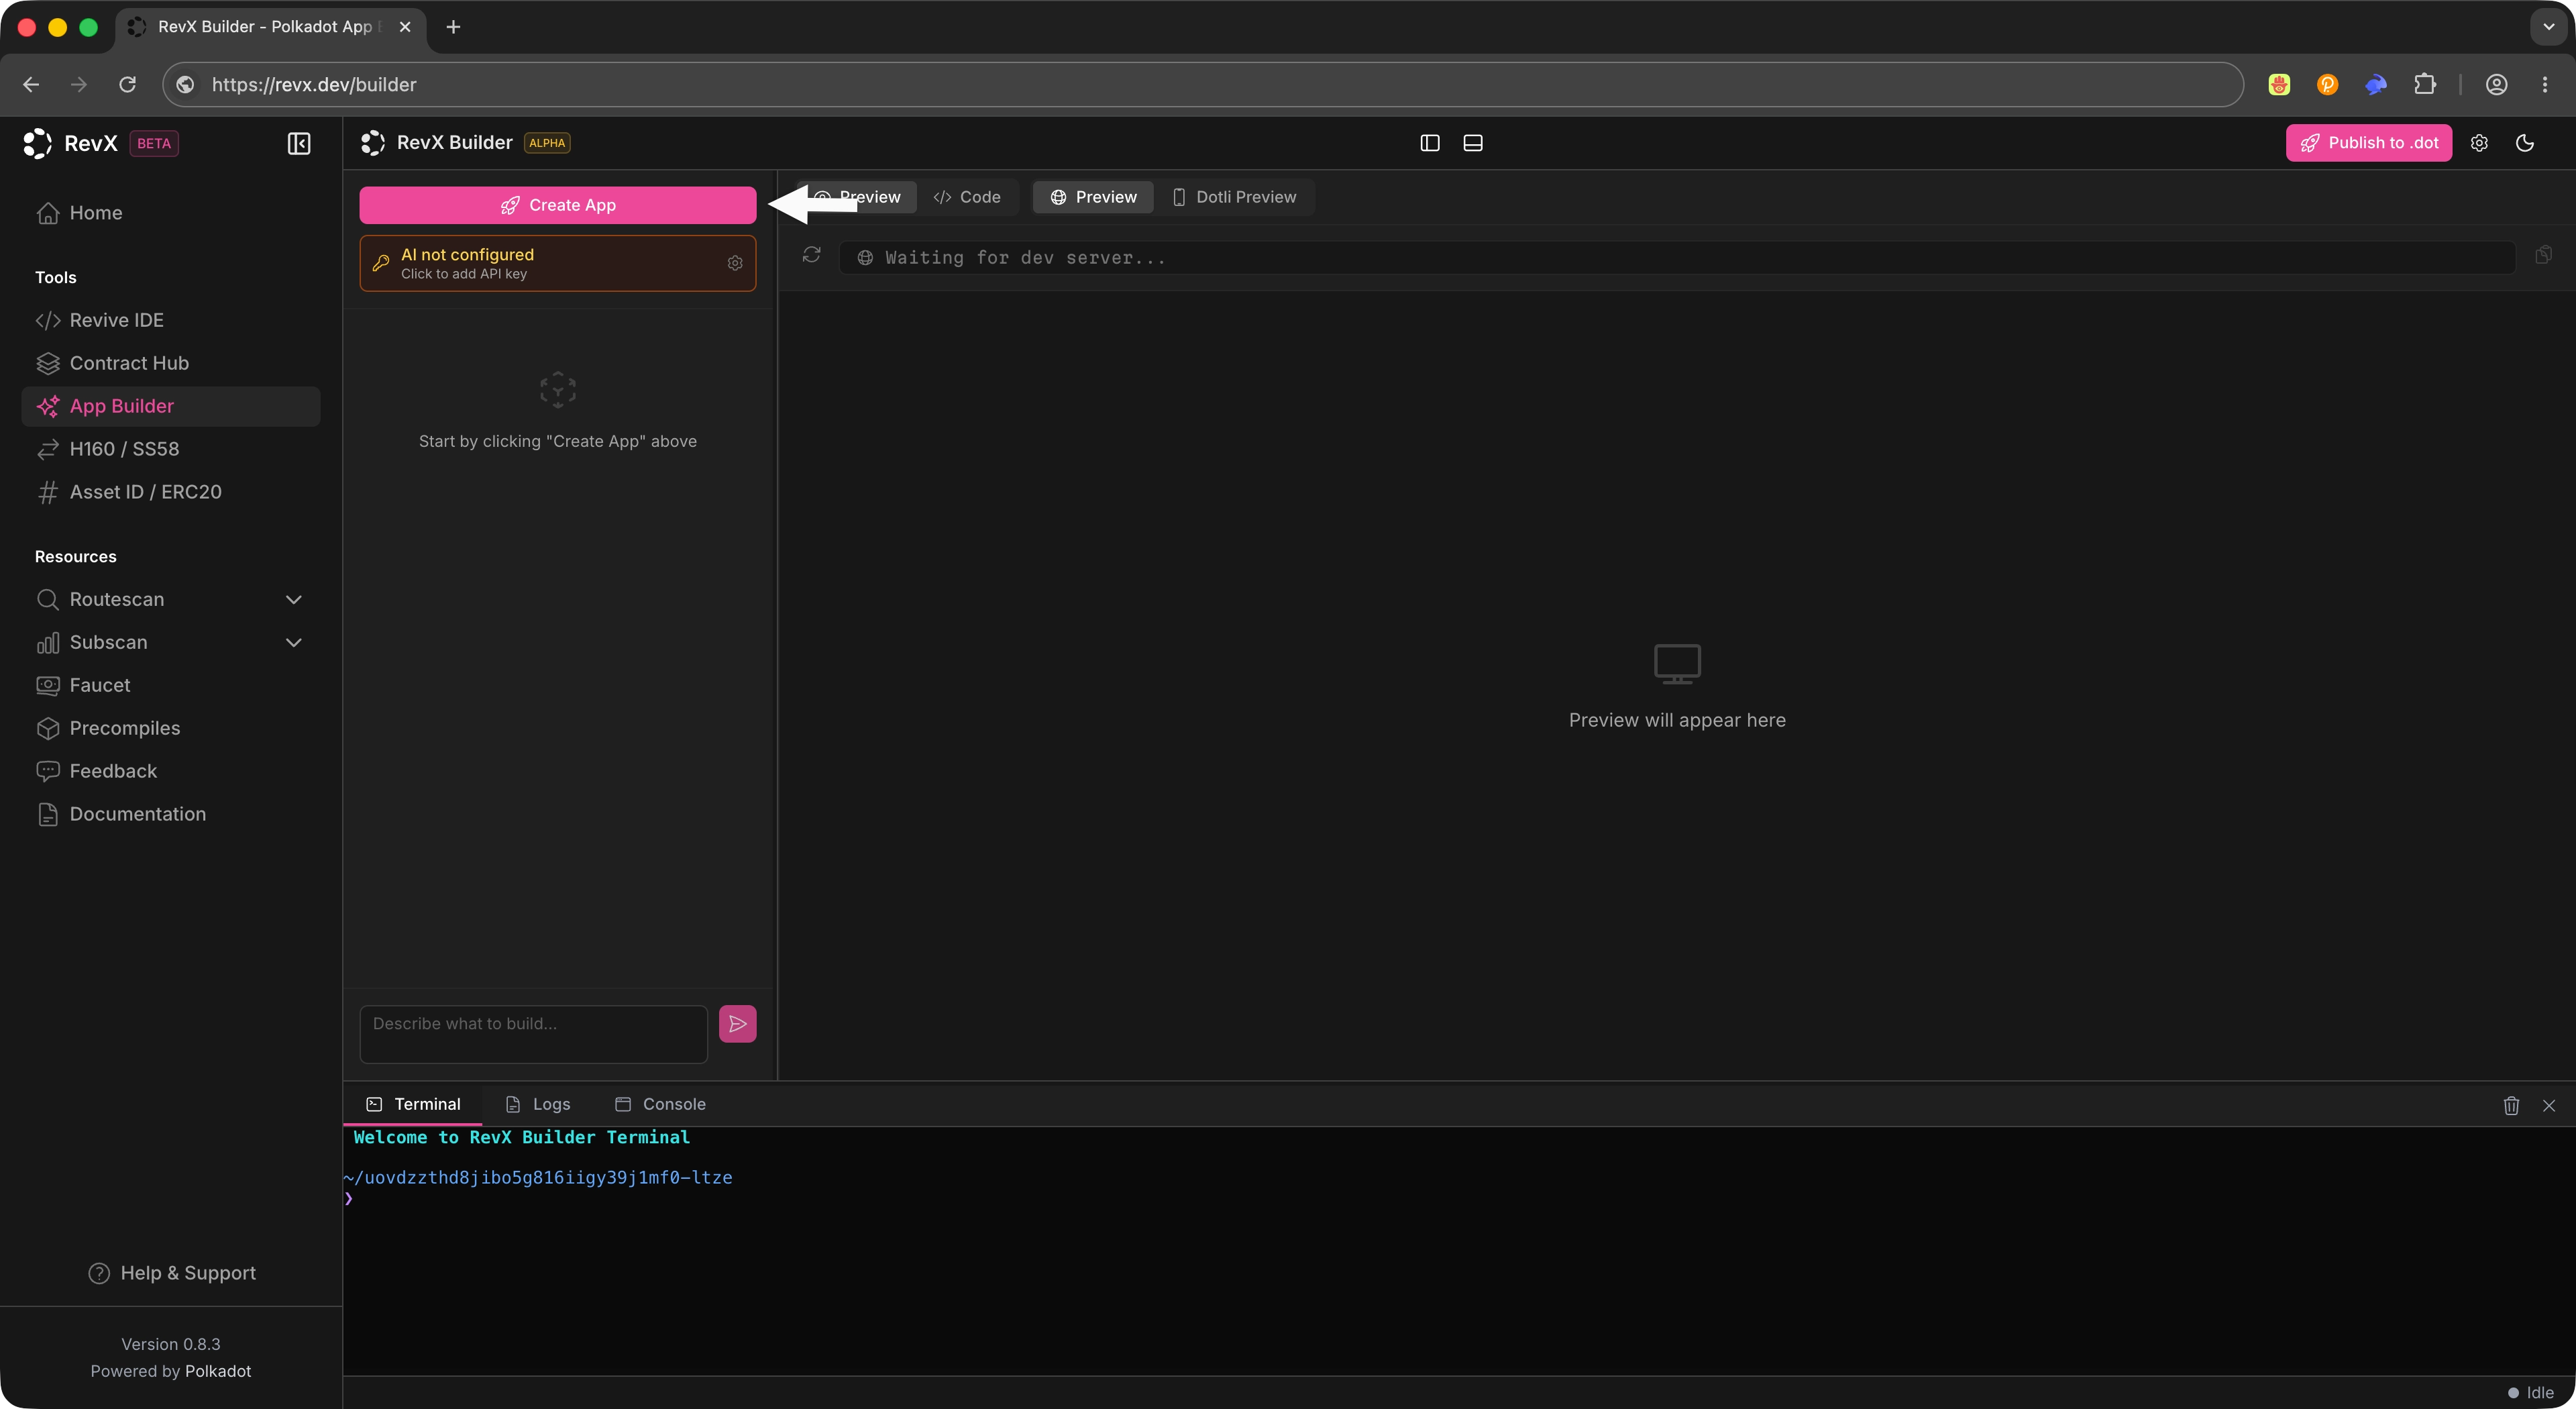
After clicking Create App, you will see a loading screen while the IDE initializes the project environment.
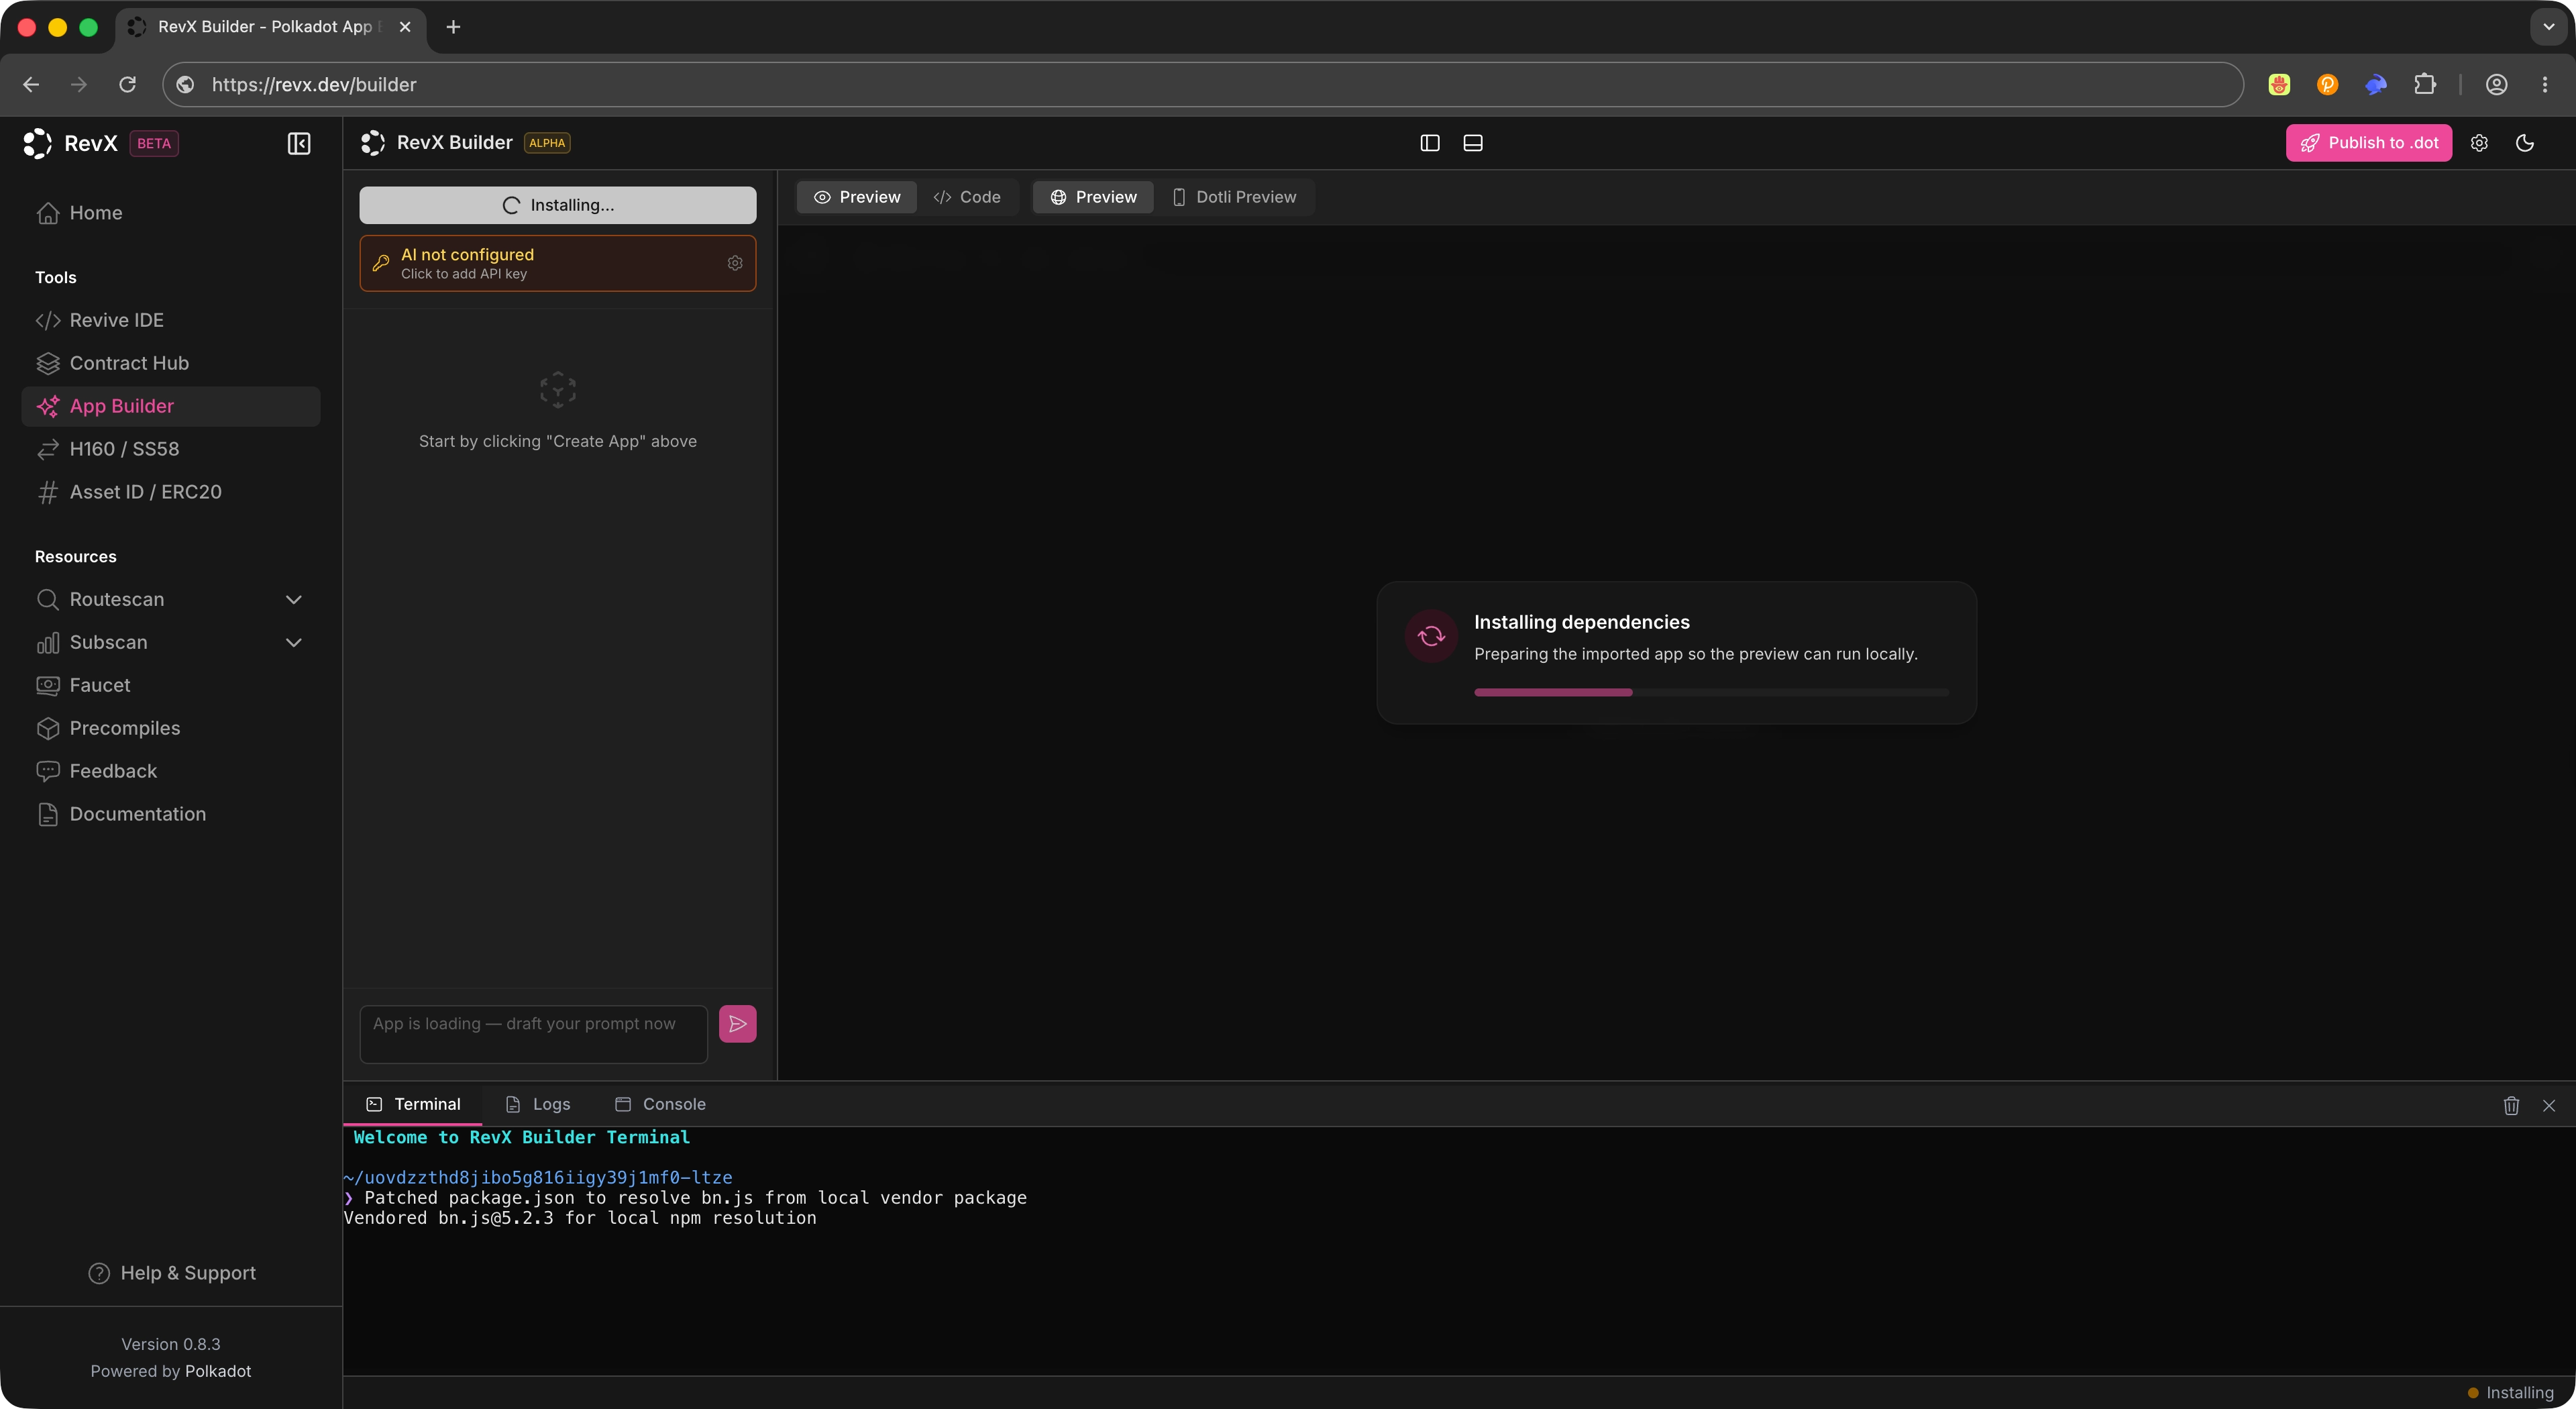
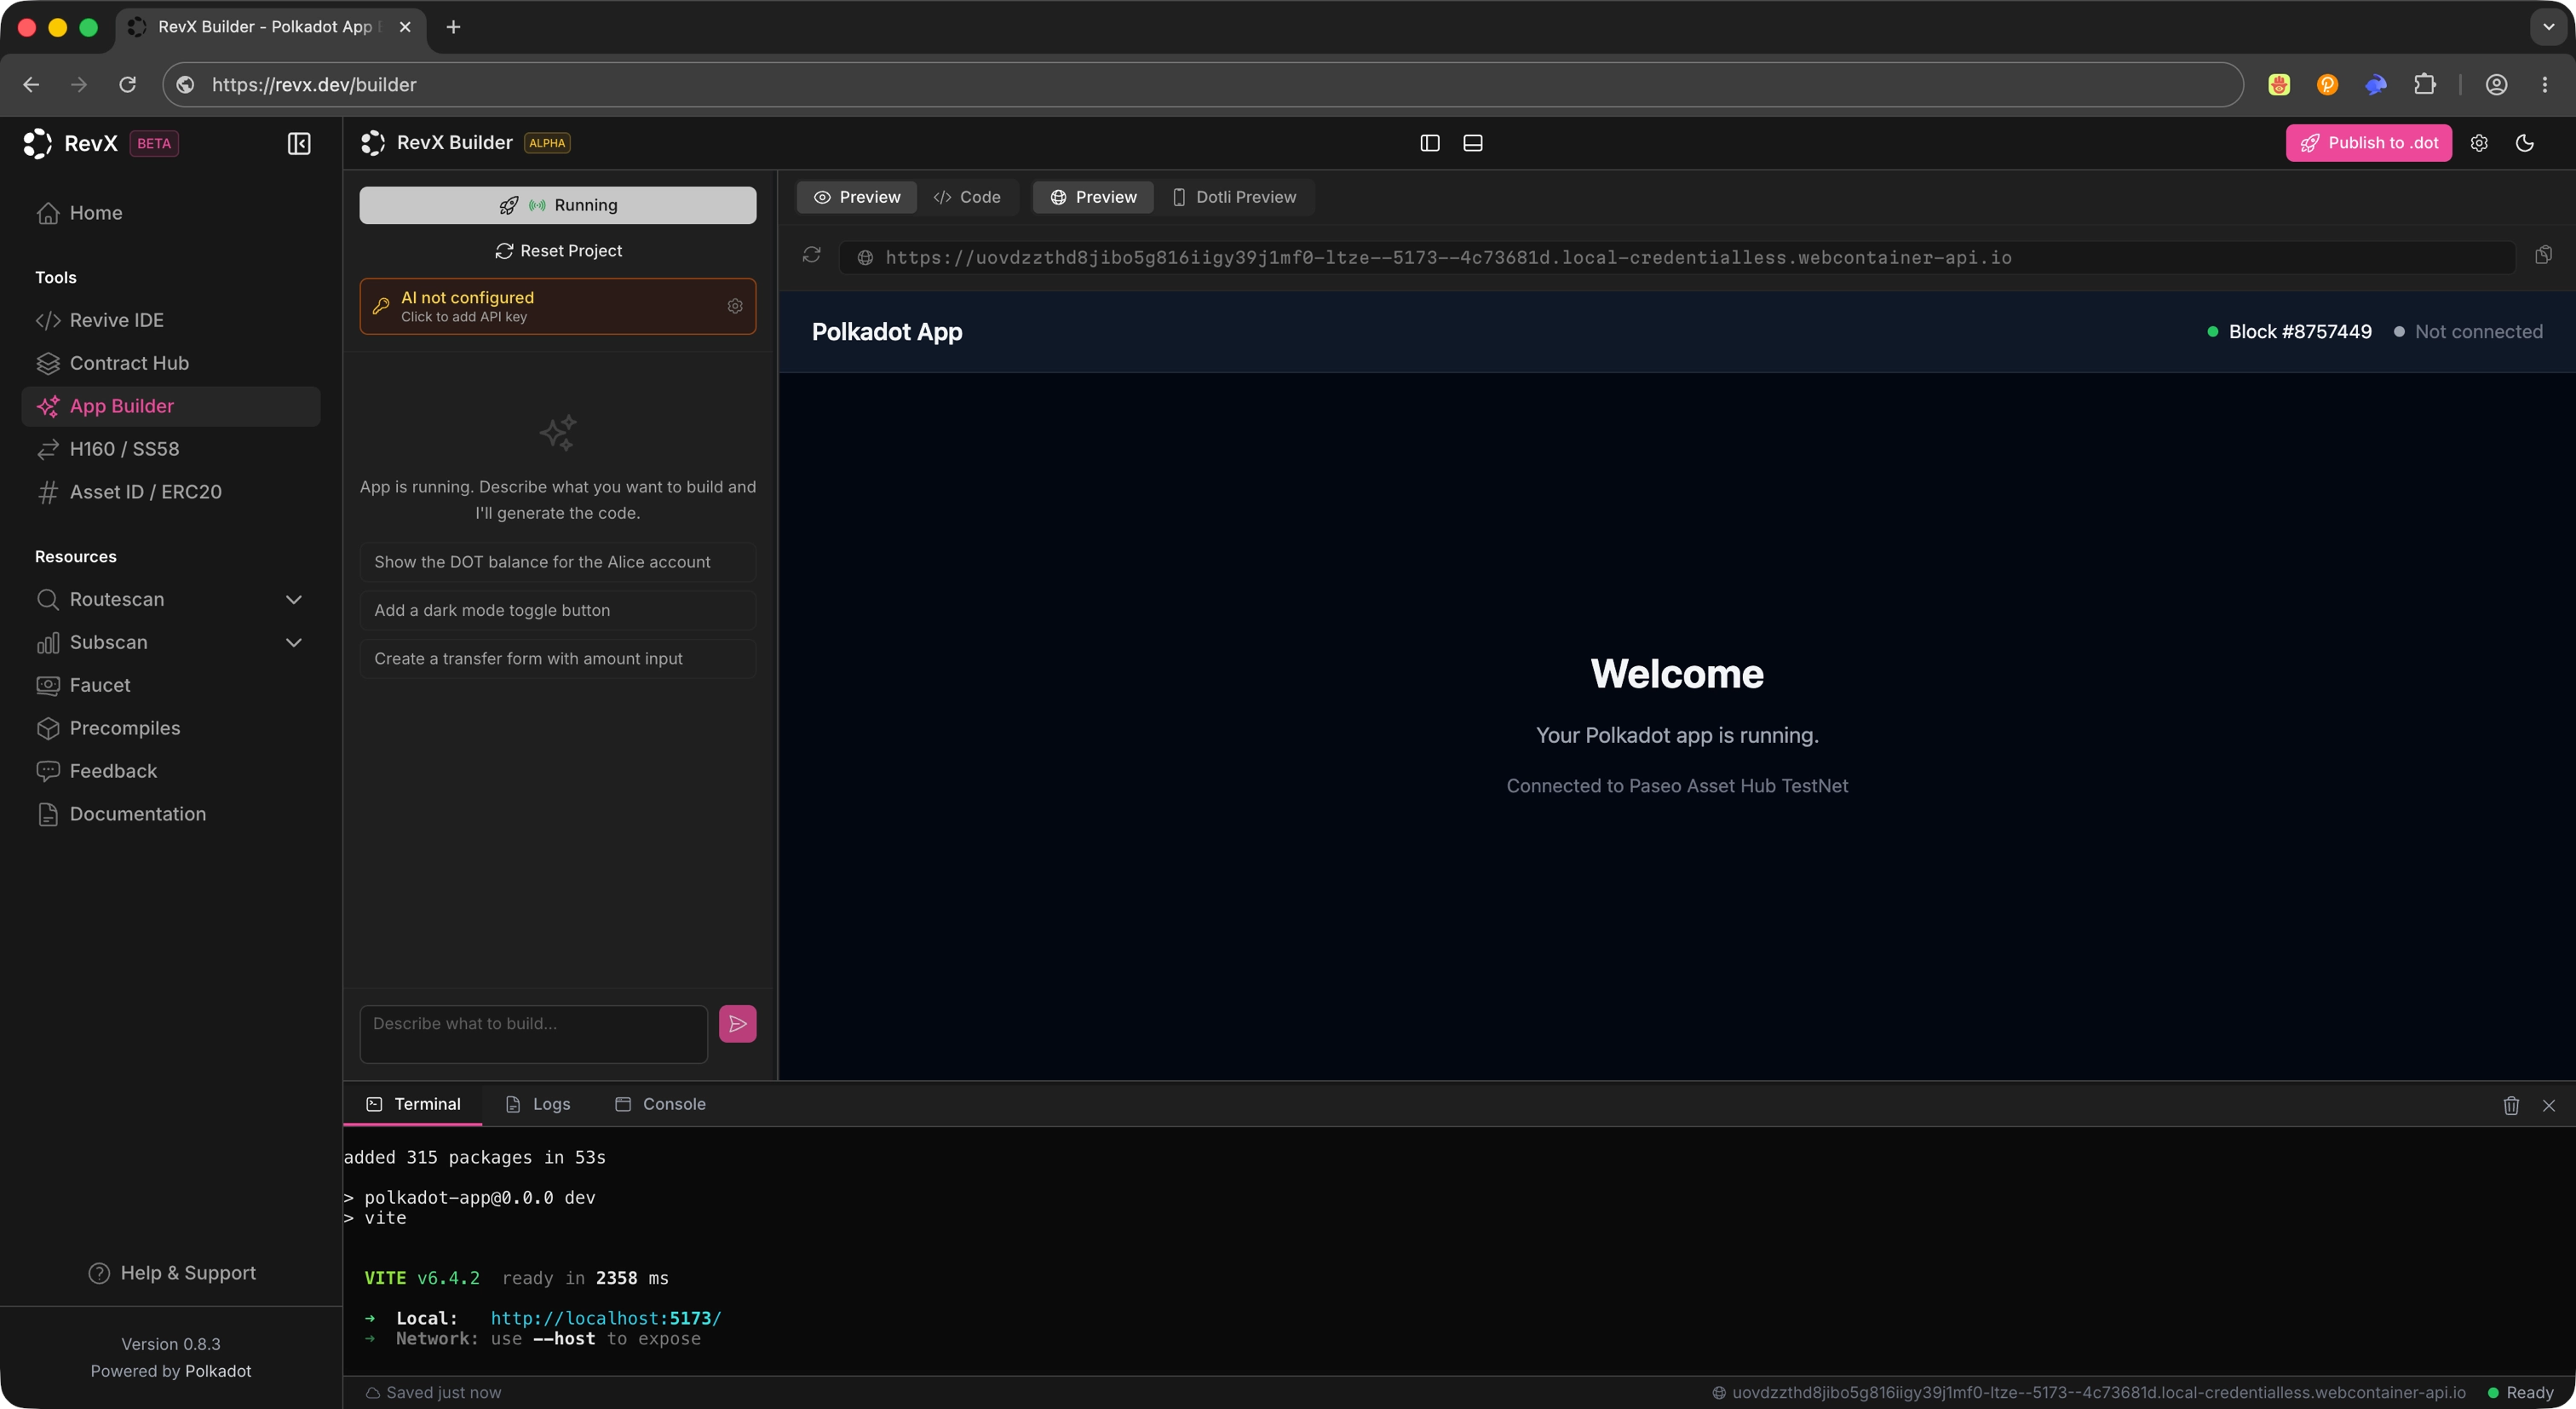
Once the environment is initialized, you will see a minimal app scaffolded in the editor and running in the terminal.
Configure the Builder
Section titled “Configure the Builder”From the App Builder view, click the Settings icon to open the AI configuration panel.
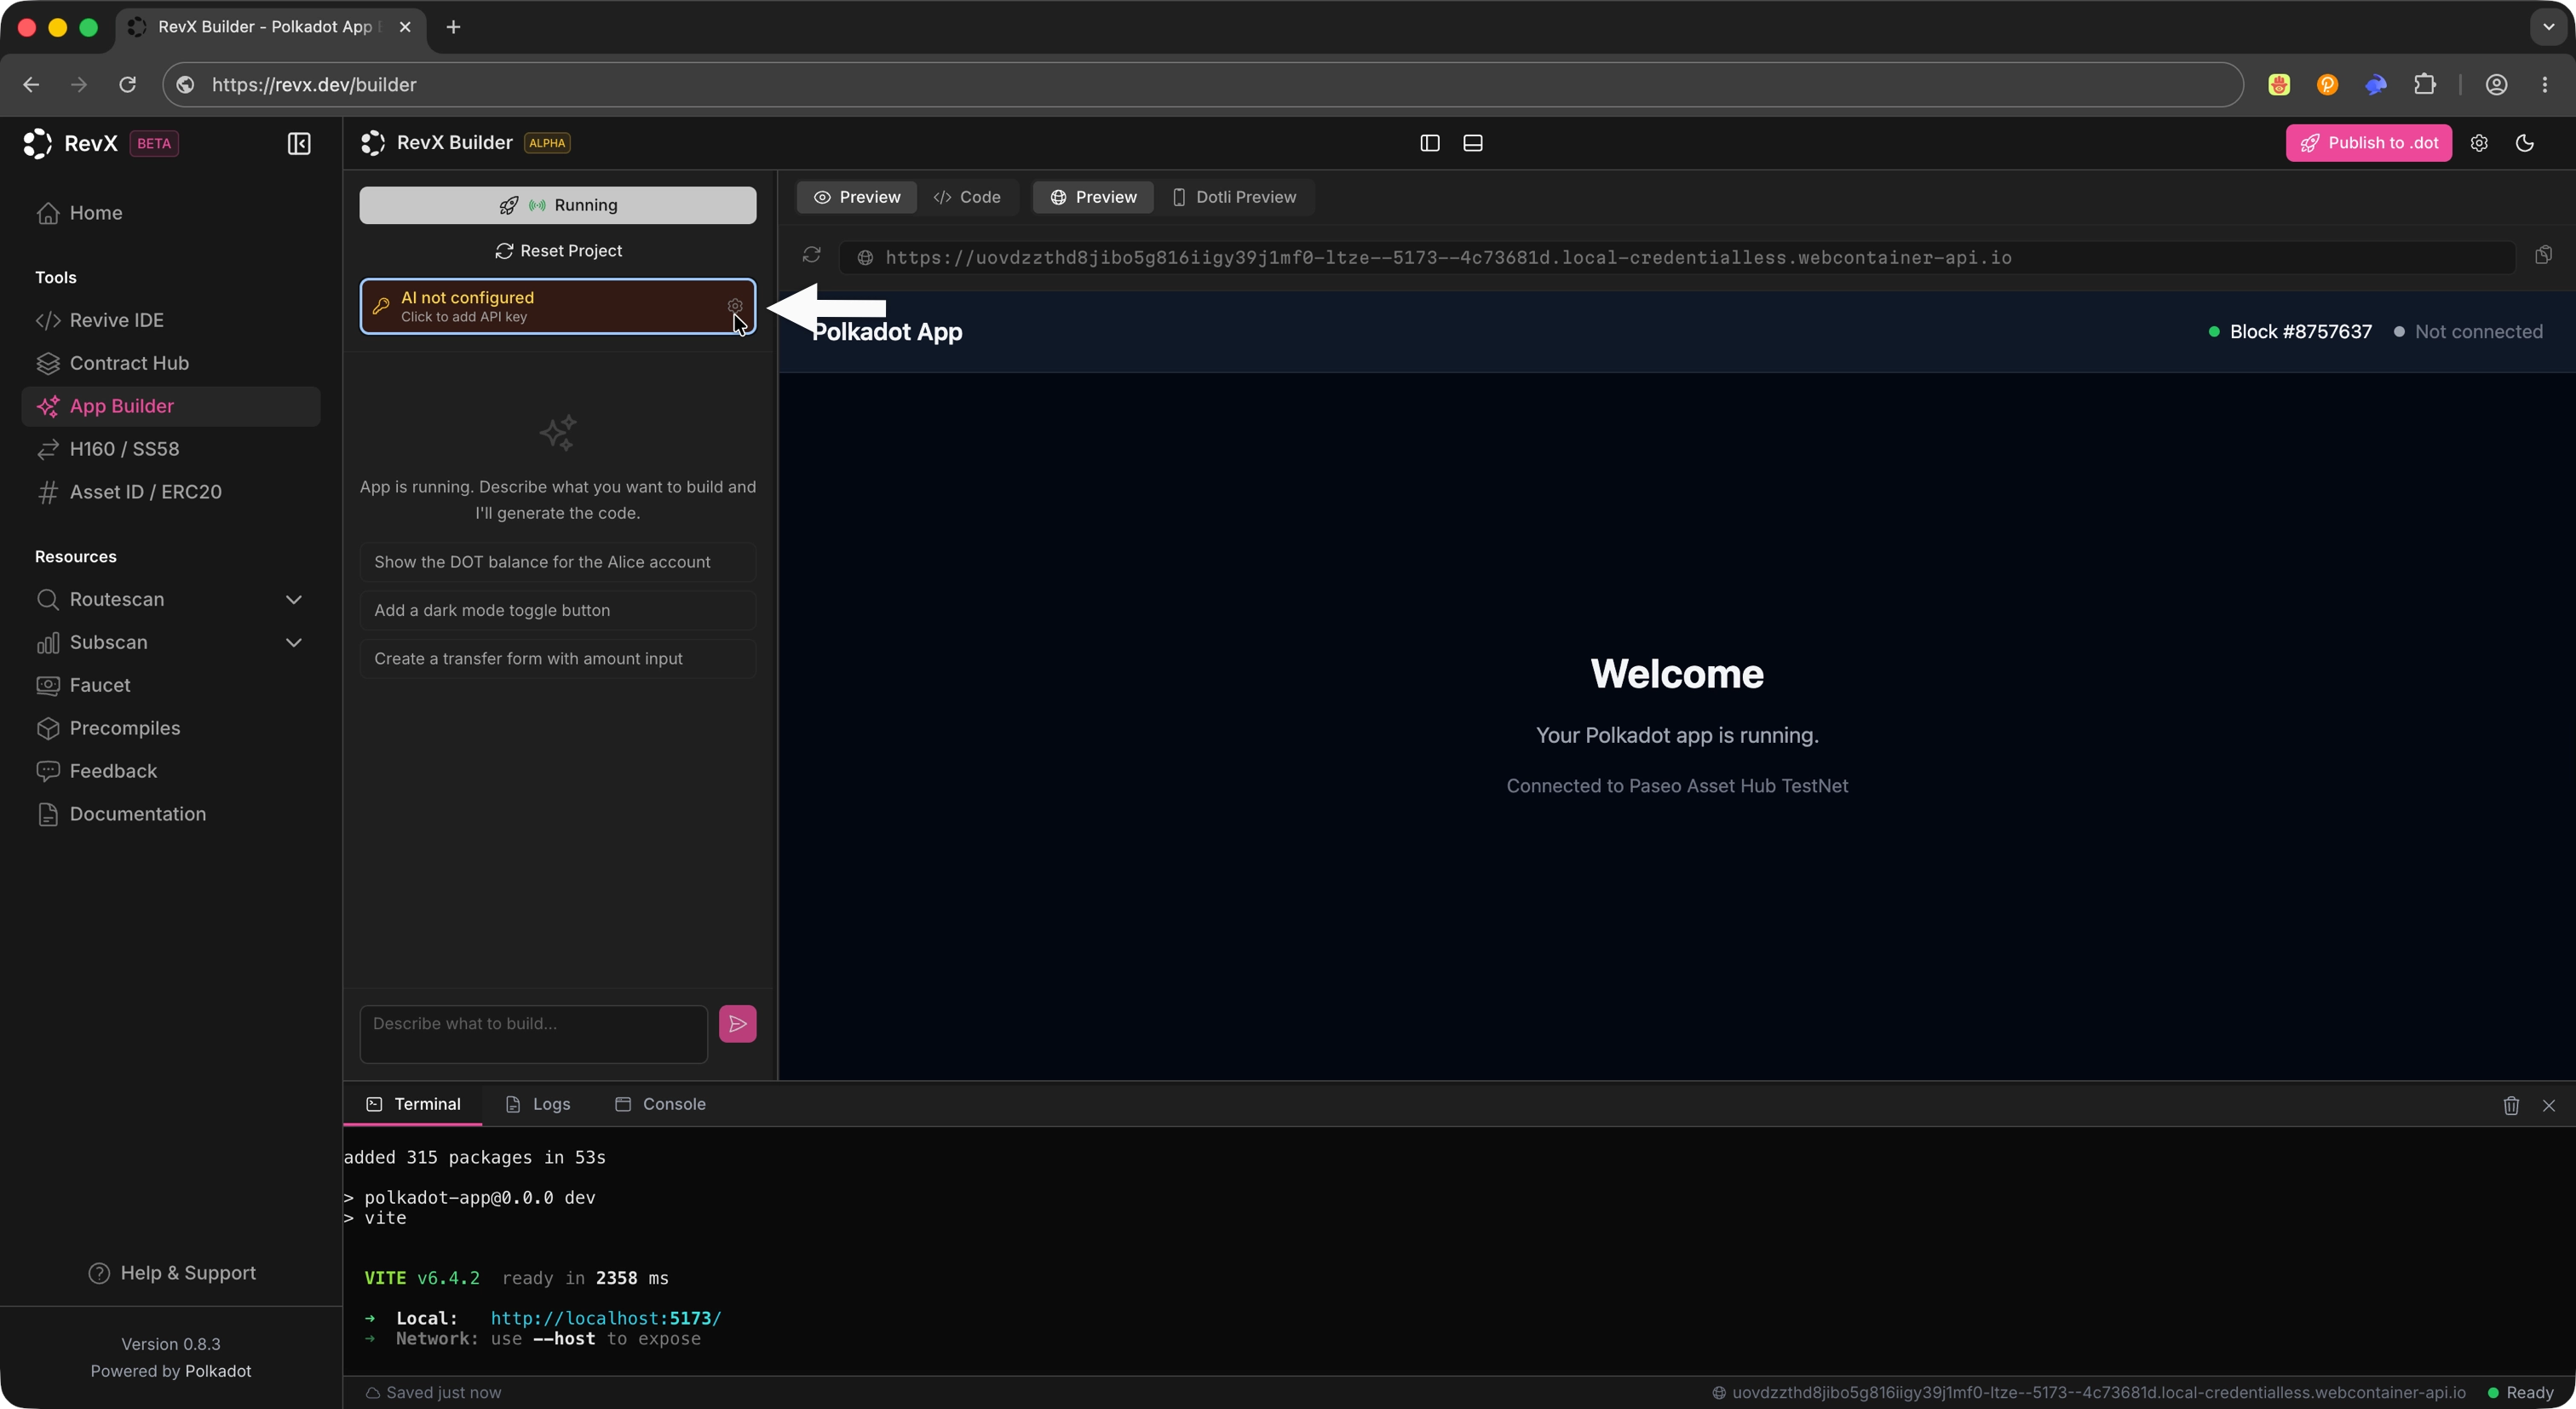
Configure the following:
- AI provider: The backend service that powers code generation.
- API key: The credential for your AI provider.
- Model: The specific model to use from the selected provider.
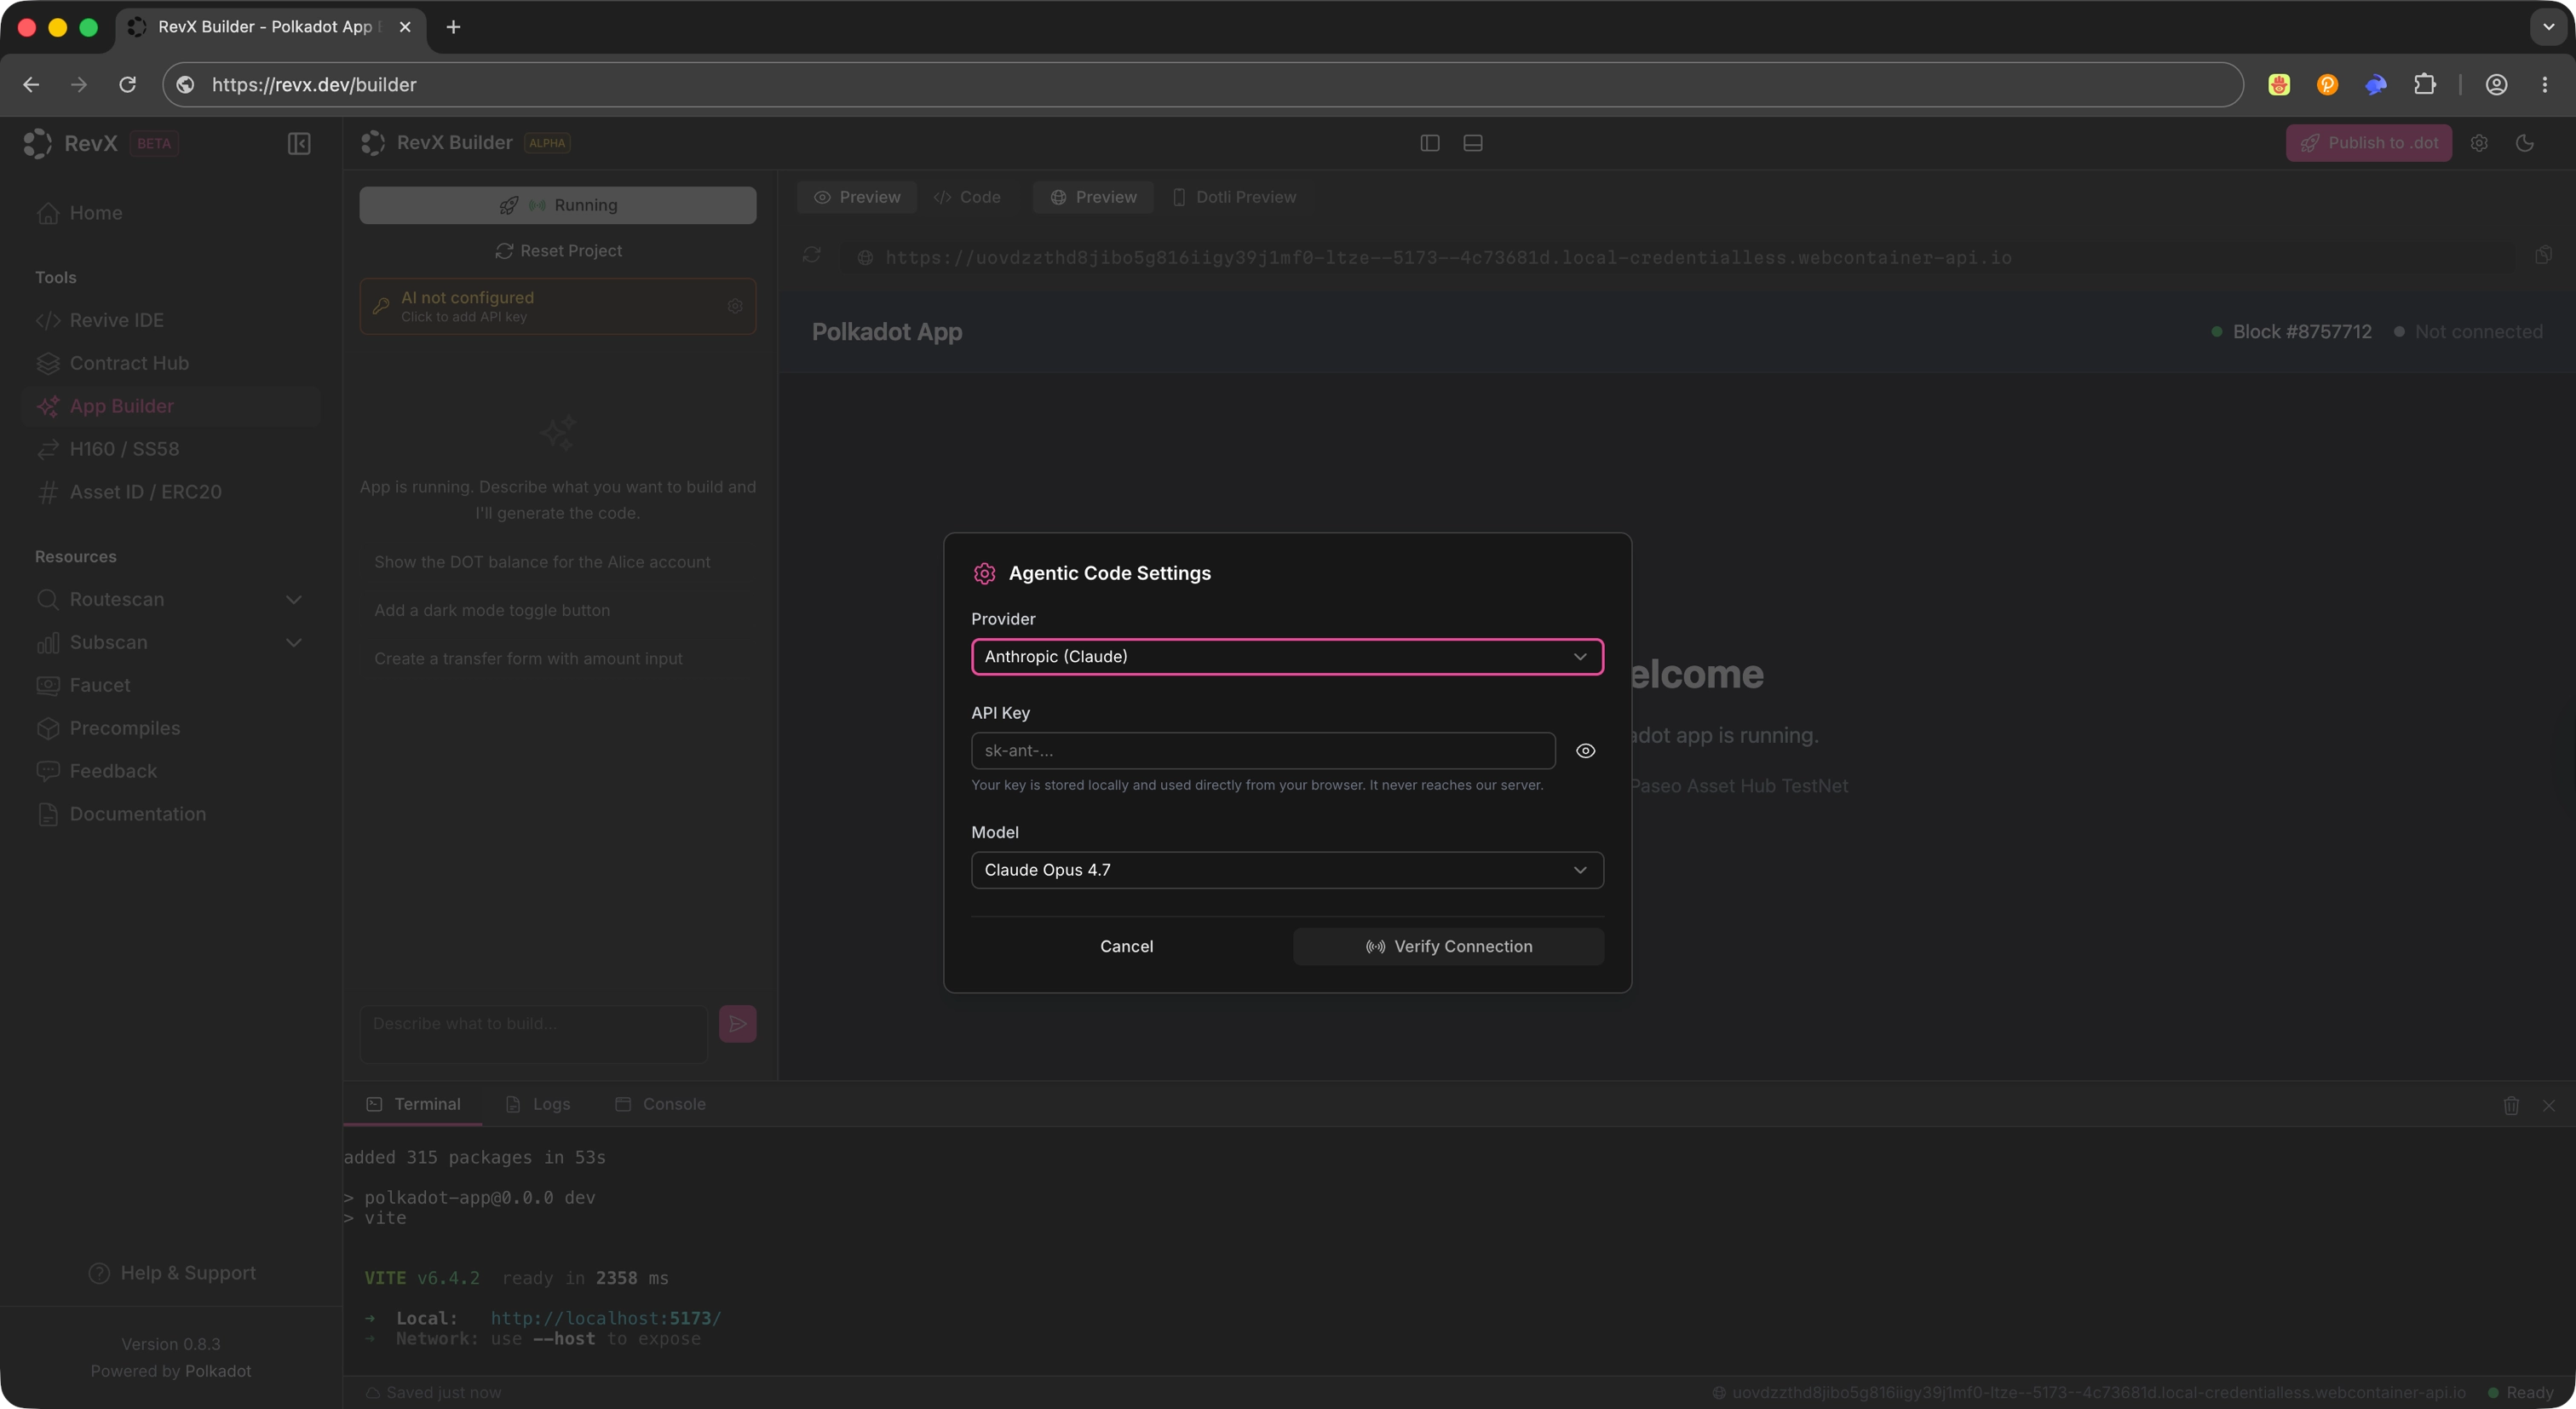
These settings let the IDE generate applications using the selected AI backend. You can change them at any time if you want to switch providers or models.
Generate an App
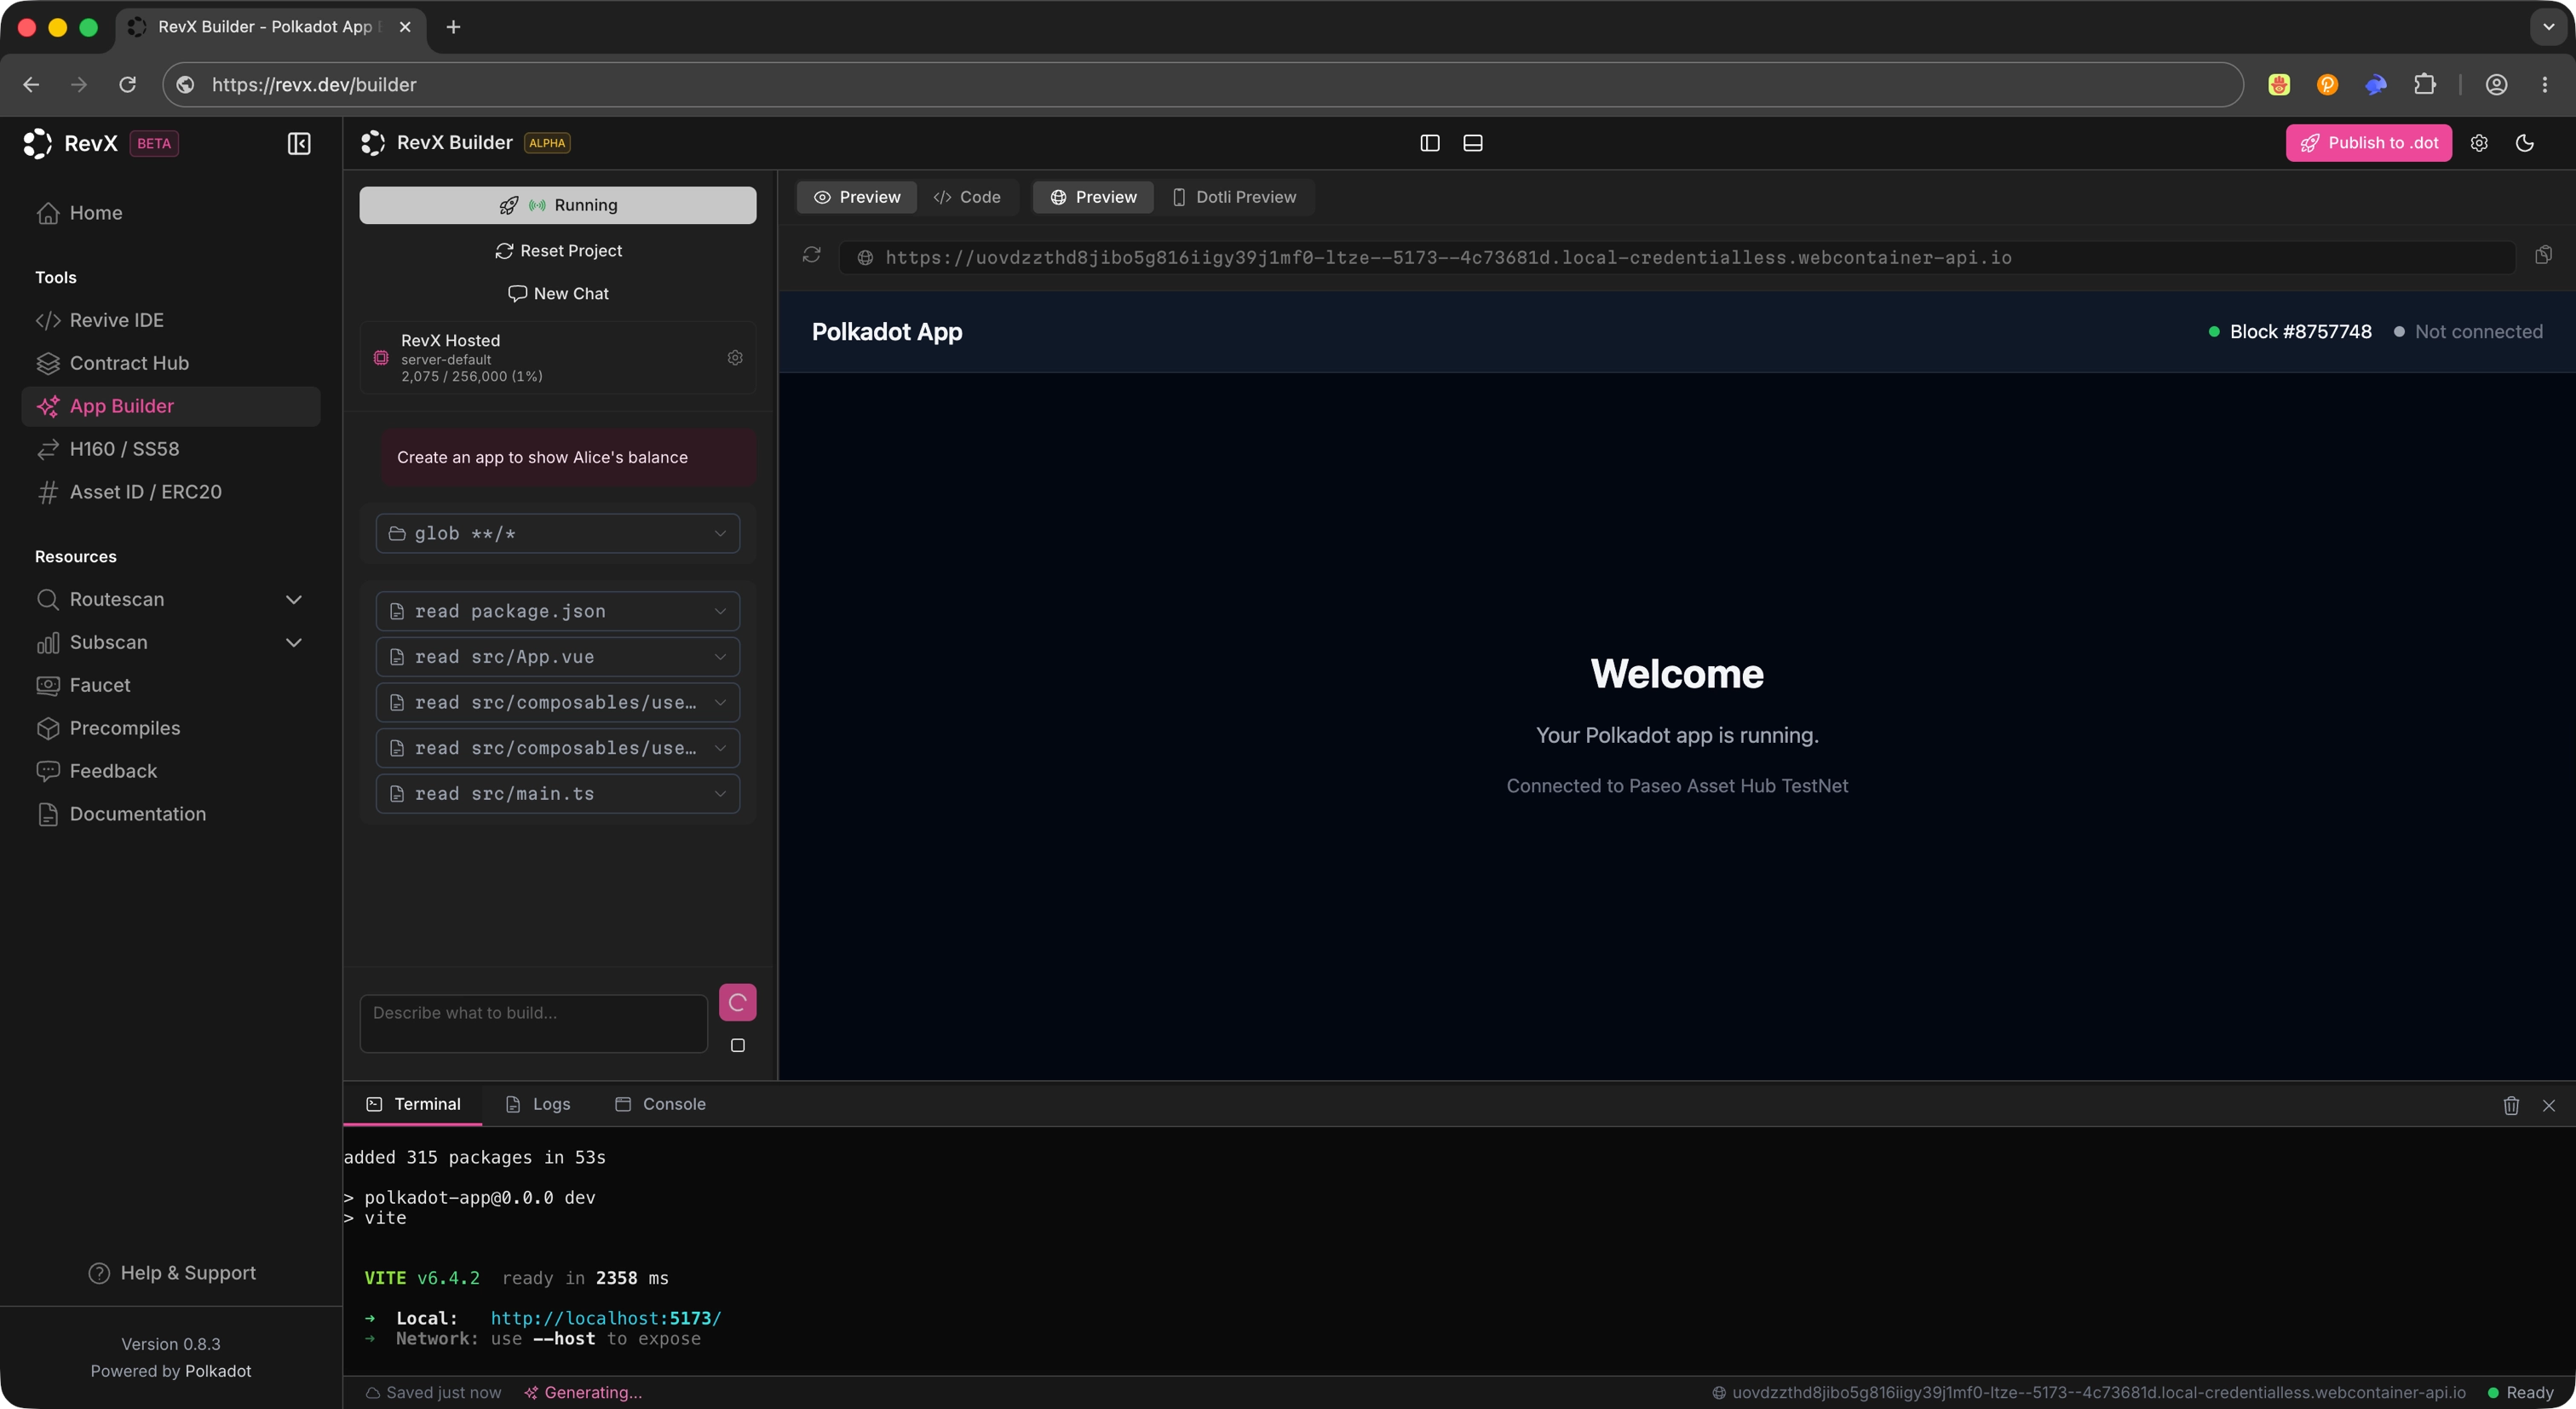
Section titled “Generate an App”Use the chat interface to describe the app you want to build. RevX generates the application structure and code automatically based on your prompt.
After you submit the prompt, the IDE produces the project files and scaffolds the app for you to review.
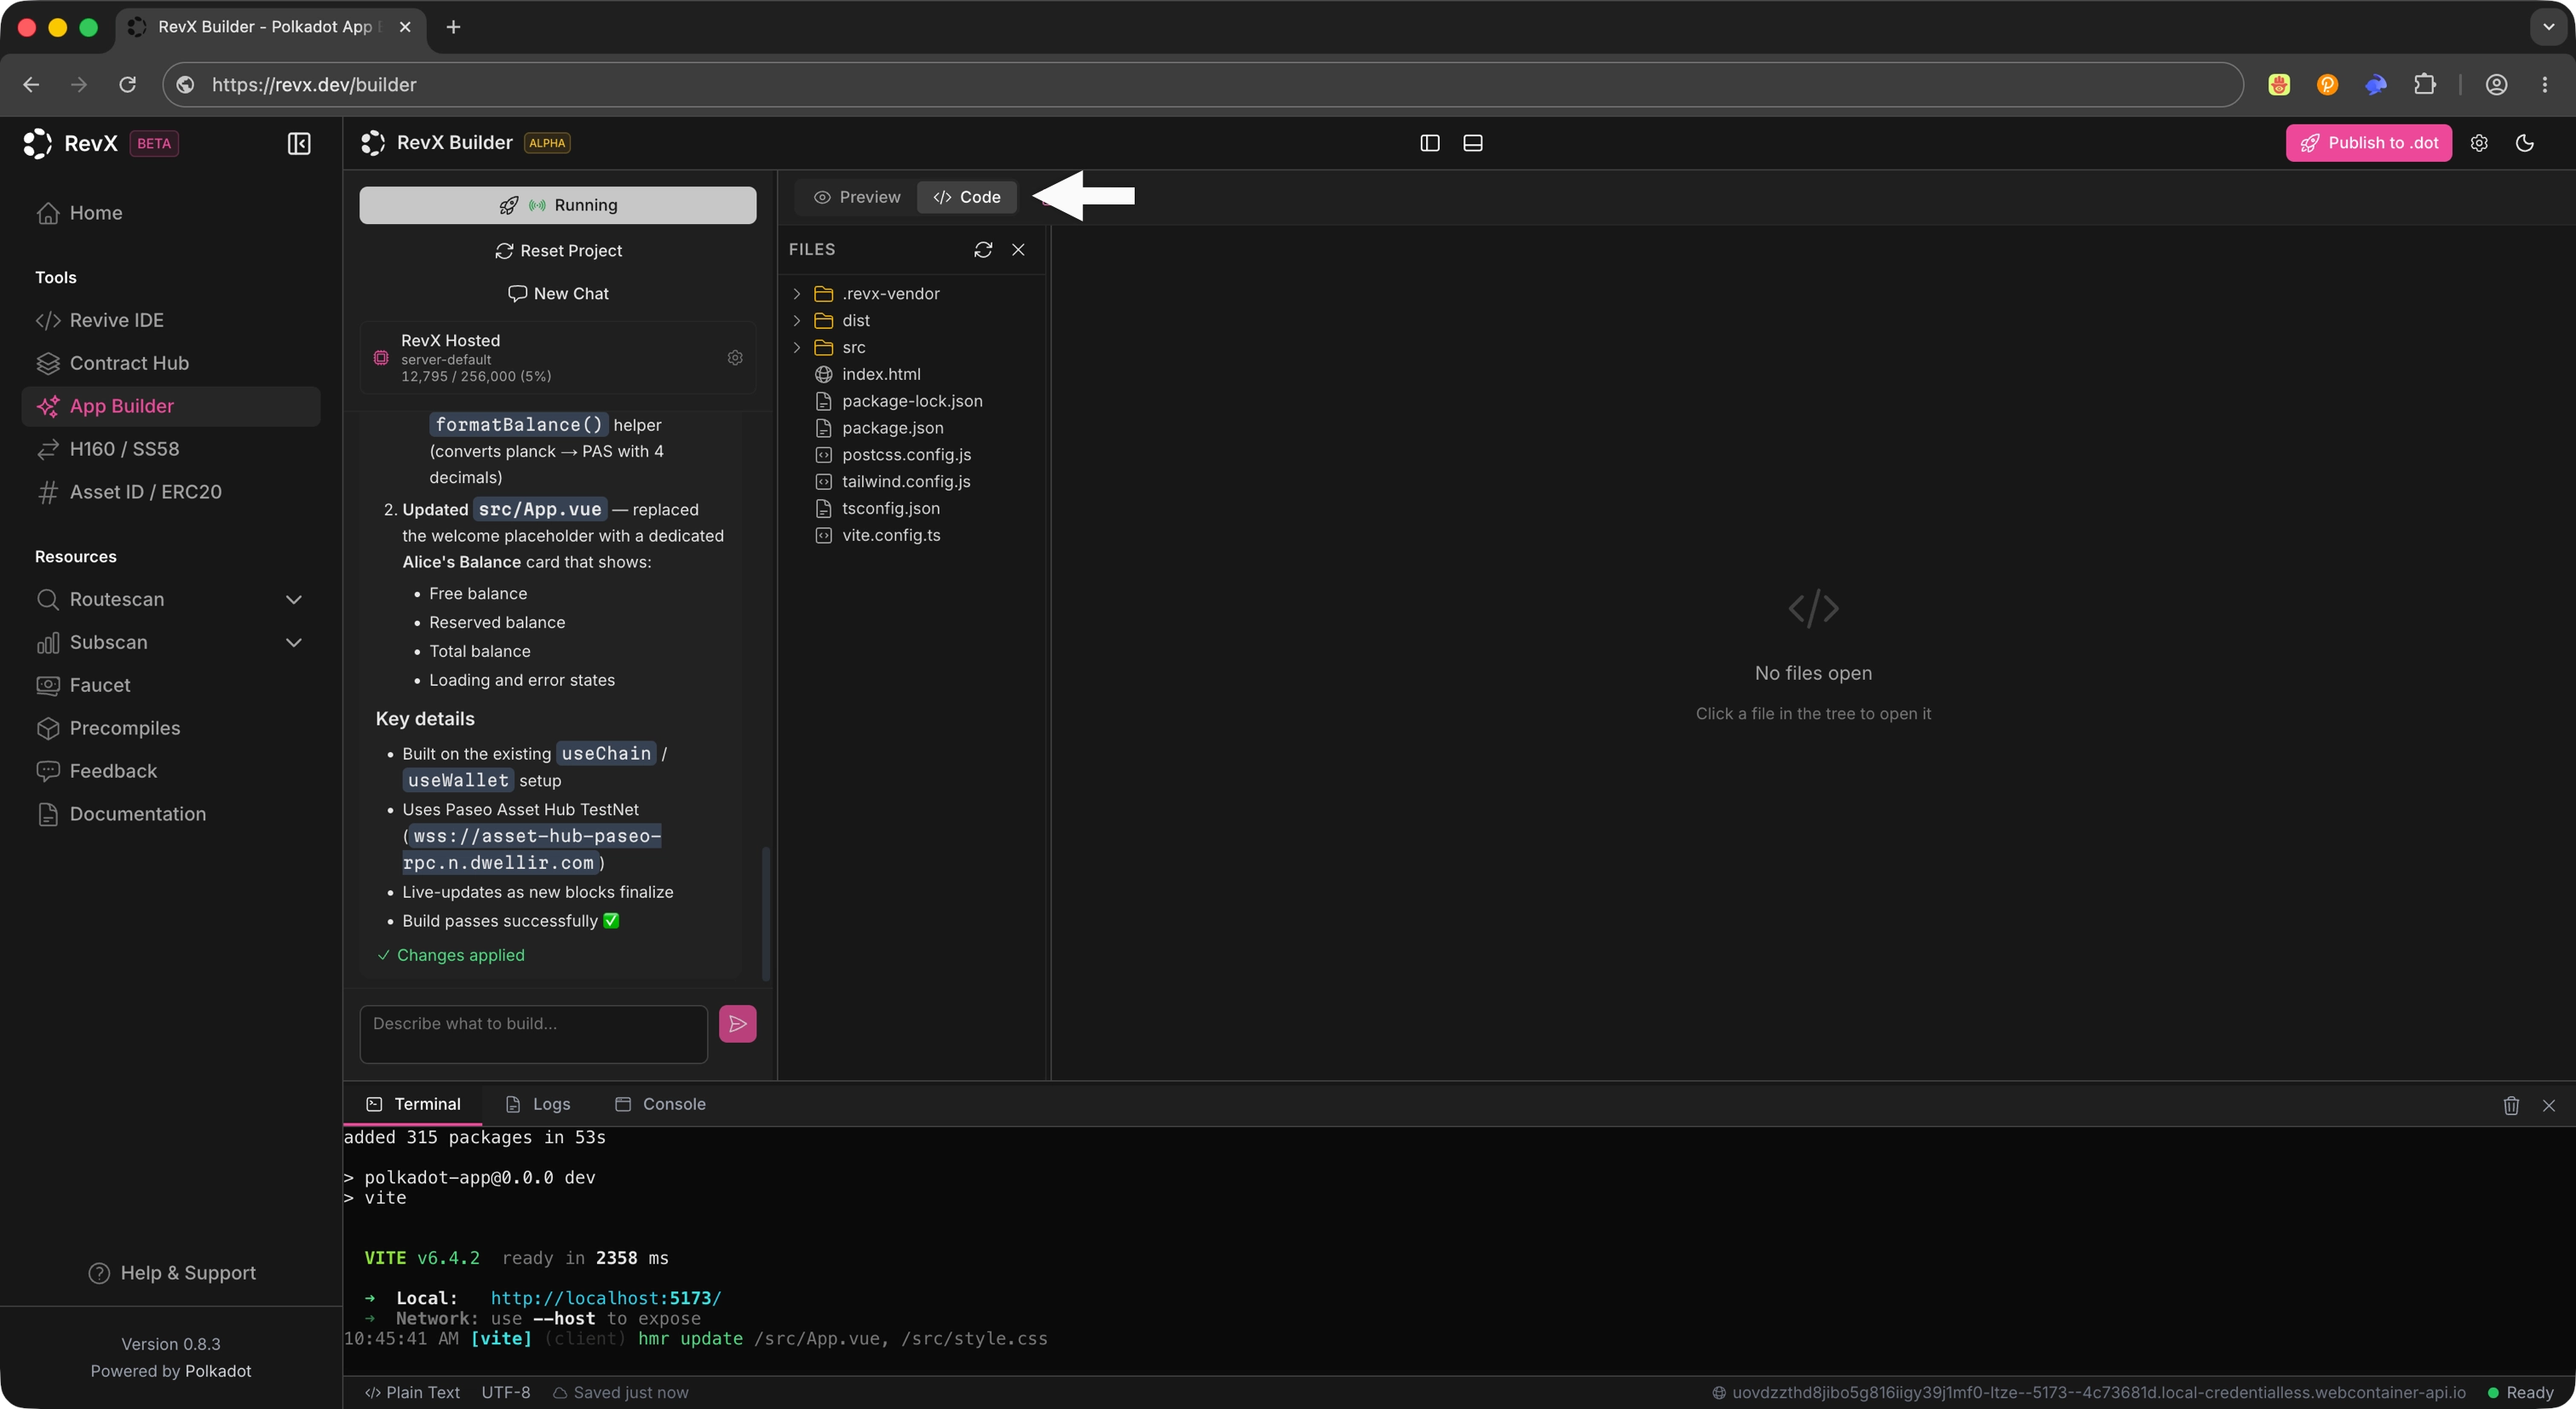
Inspect the Generated Code
Section titled “Inspect the Generated Code”Once generation completes, open the generated files in the editor to review what was produced. You can continue iterating on the application from within RevX: refine the prompt, edit code directly, or layer additional changes through the chat interface.
Publish to .dot
Section titled “Publish to .dot”When your app is ready, click Publish to .dot to deploy the application to the Polkadot ecosystem. The publish action takes the app you generated in RevX and makes it available under a .dot name.
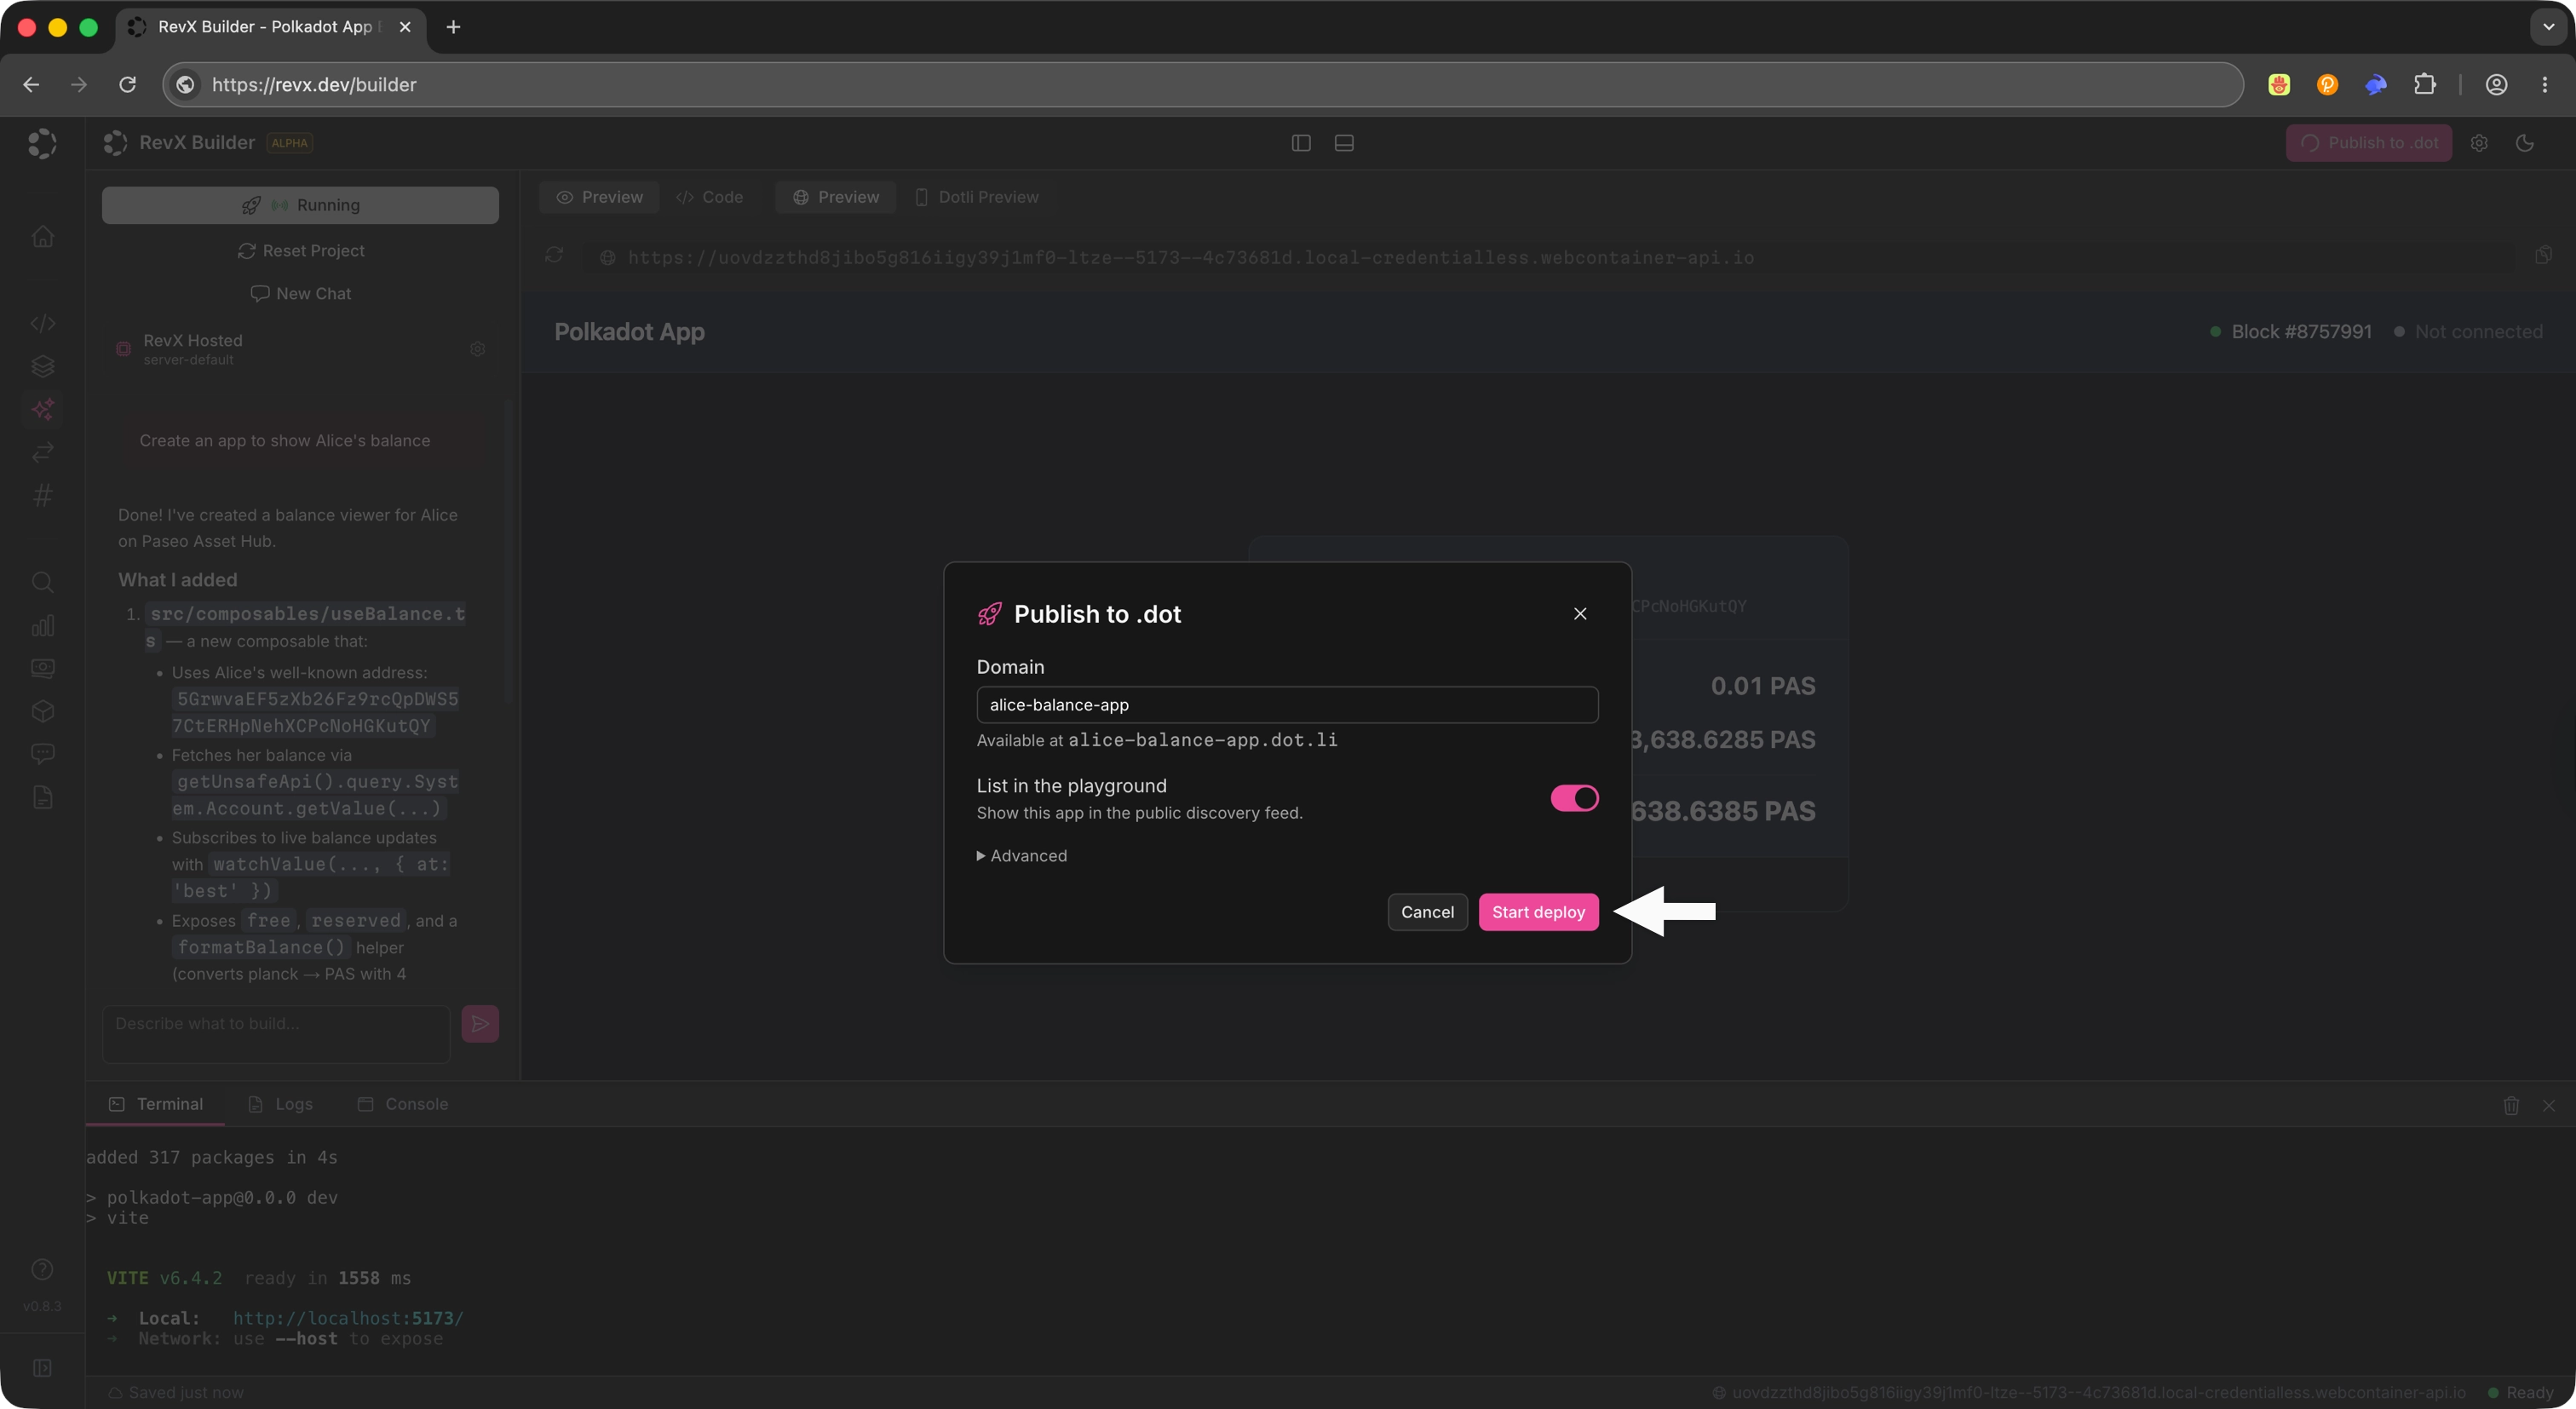
After clicking Start Deploy, you will be asked to sign the transaction with your Polkadot App.
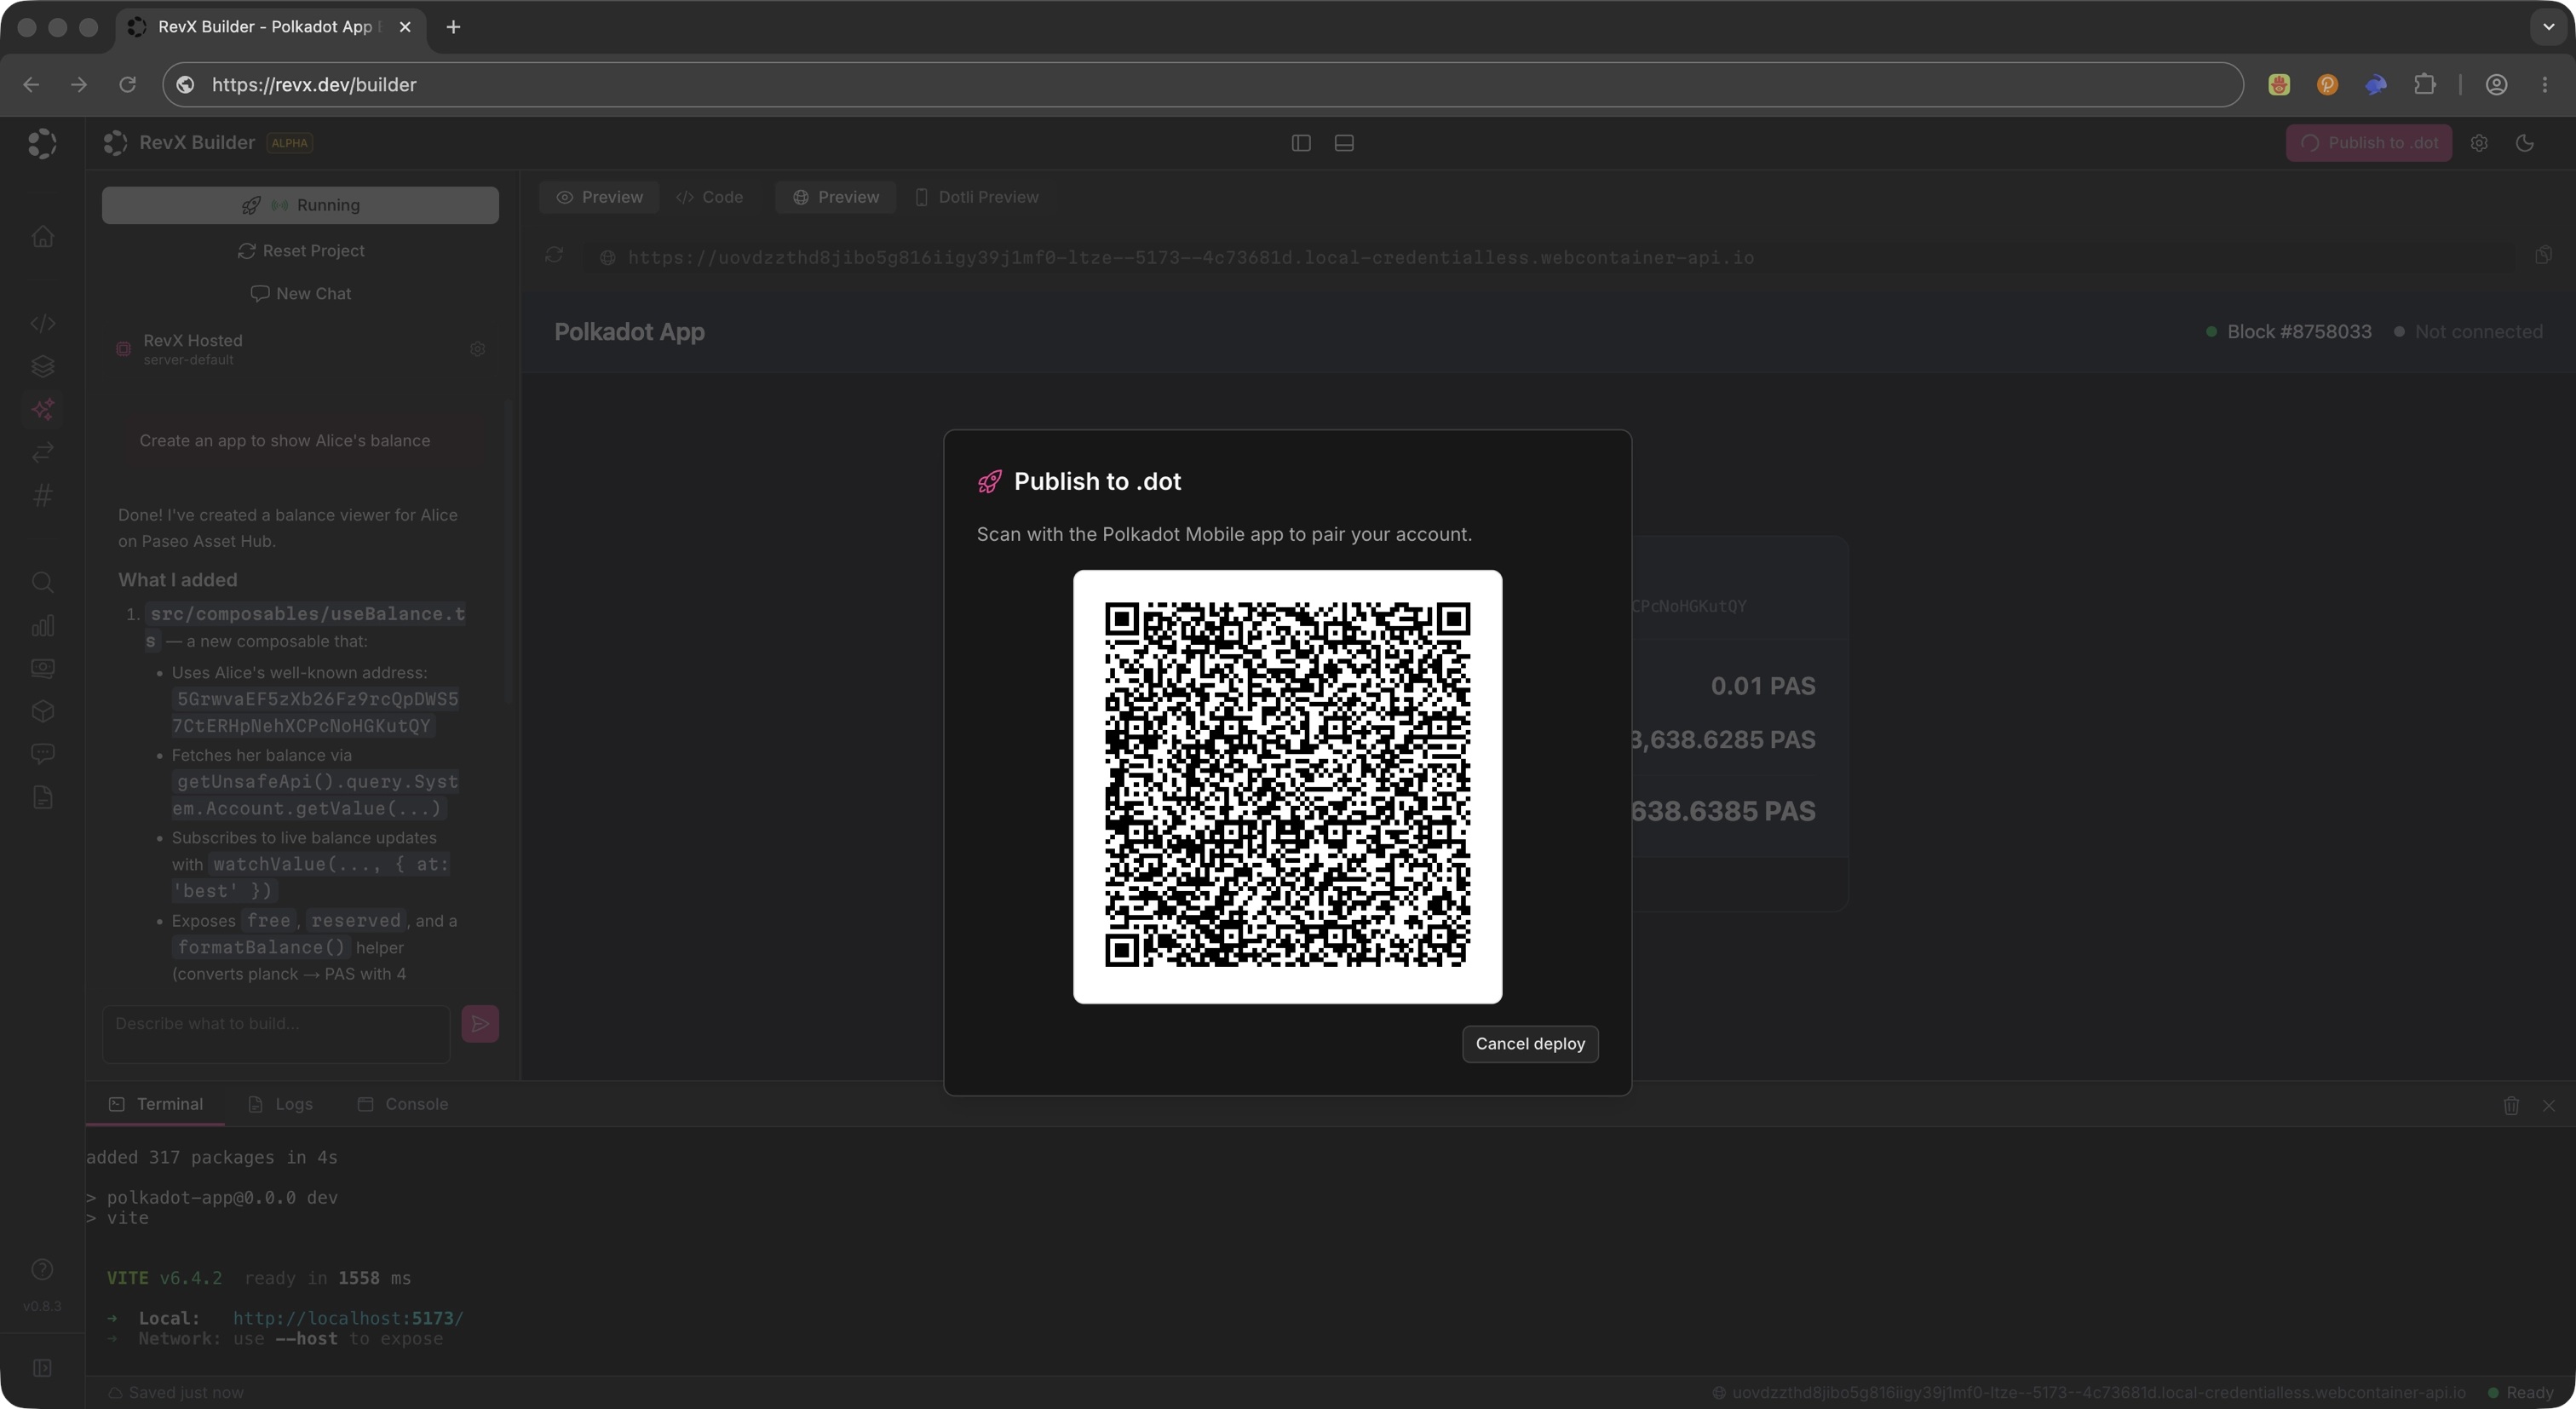
After signing the transaction, you will see the deployment progress in the terminal. The action is labeled Publish to .dot, but the name you receive carries the network's TLD, so on Paseo Next v2 your Product is live under its .paseo name. Open it in Polkadot Desktop, or on Polkadot Web at https://<name>.paseo.li in any browser.
Where to Go Next
Section titled “Where to Go Next”-
Build Guides
Set up the local dev loop, then add capabilities to your Product: signing, on-chain reads, decentralized storage, off-chain pub/sub, and local persistence.